When you click on links to various merchants on this site and make a purchase, this can result in this site earning a commission. Affiliate programs and affiliations include, but are not limited to, the eBay Partner Network.
Since I've seen a few post asking how to remove the overhead console as well as the "Push Button" lights not turning off, I thought I would put together a DIY on how to remove this console as well as options for fixing the broken light.
********* Disclaimer: Proceed at your own risk. Any damage or injury is your responsibility. Please read and understand ALL information before attempting. Do not attempt if you are not comfortable with any of this. **********
The lights are part of the overhead console unit and I do not see any options to buy them separately. The cheapest price I find for this console (part # 5KM781D1AE) is $180.55. The part that breaks and causes the lights to stay on is a small, cheap piece of plastic. More on that later.
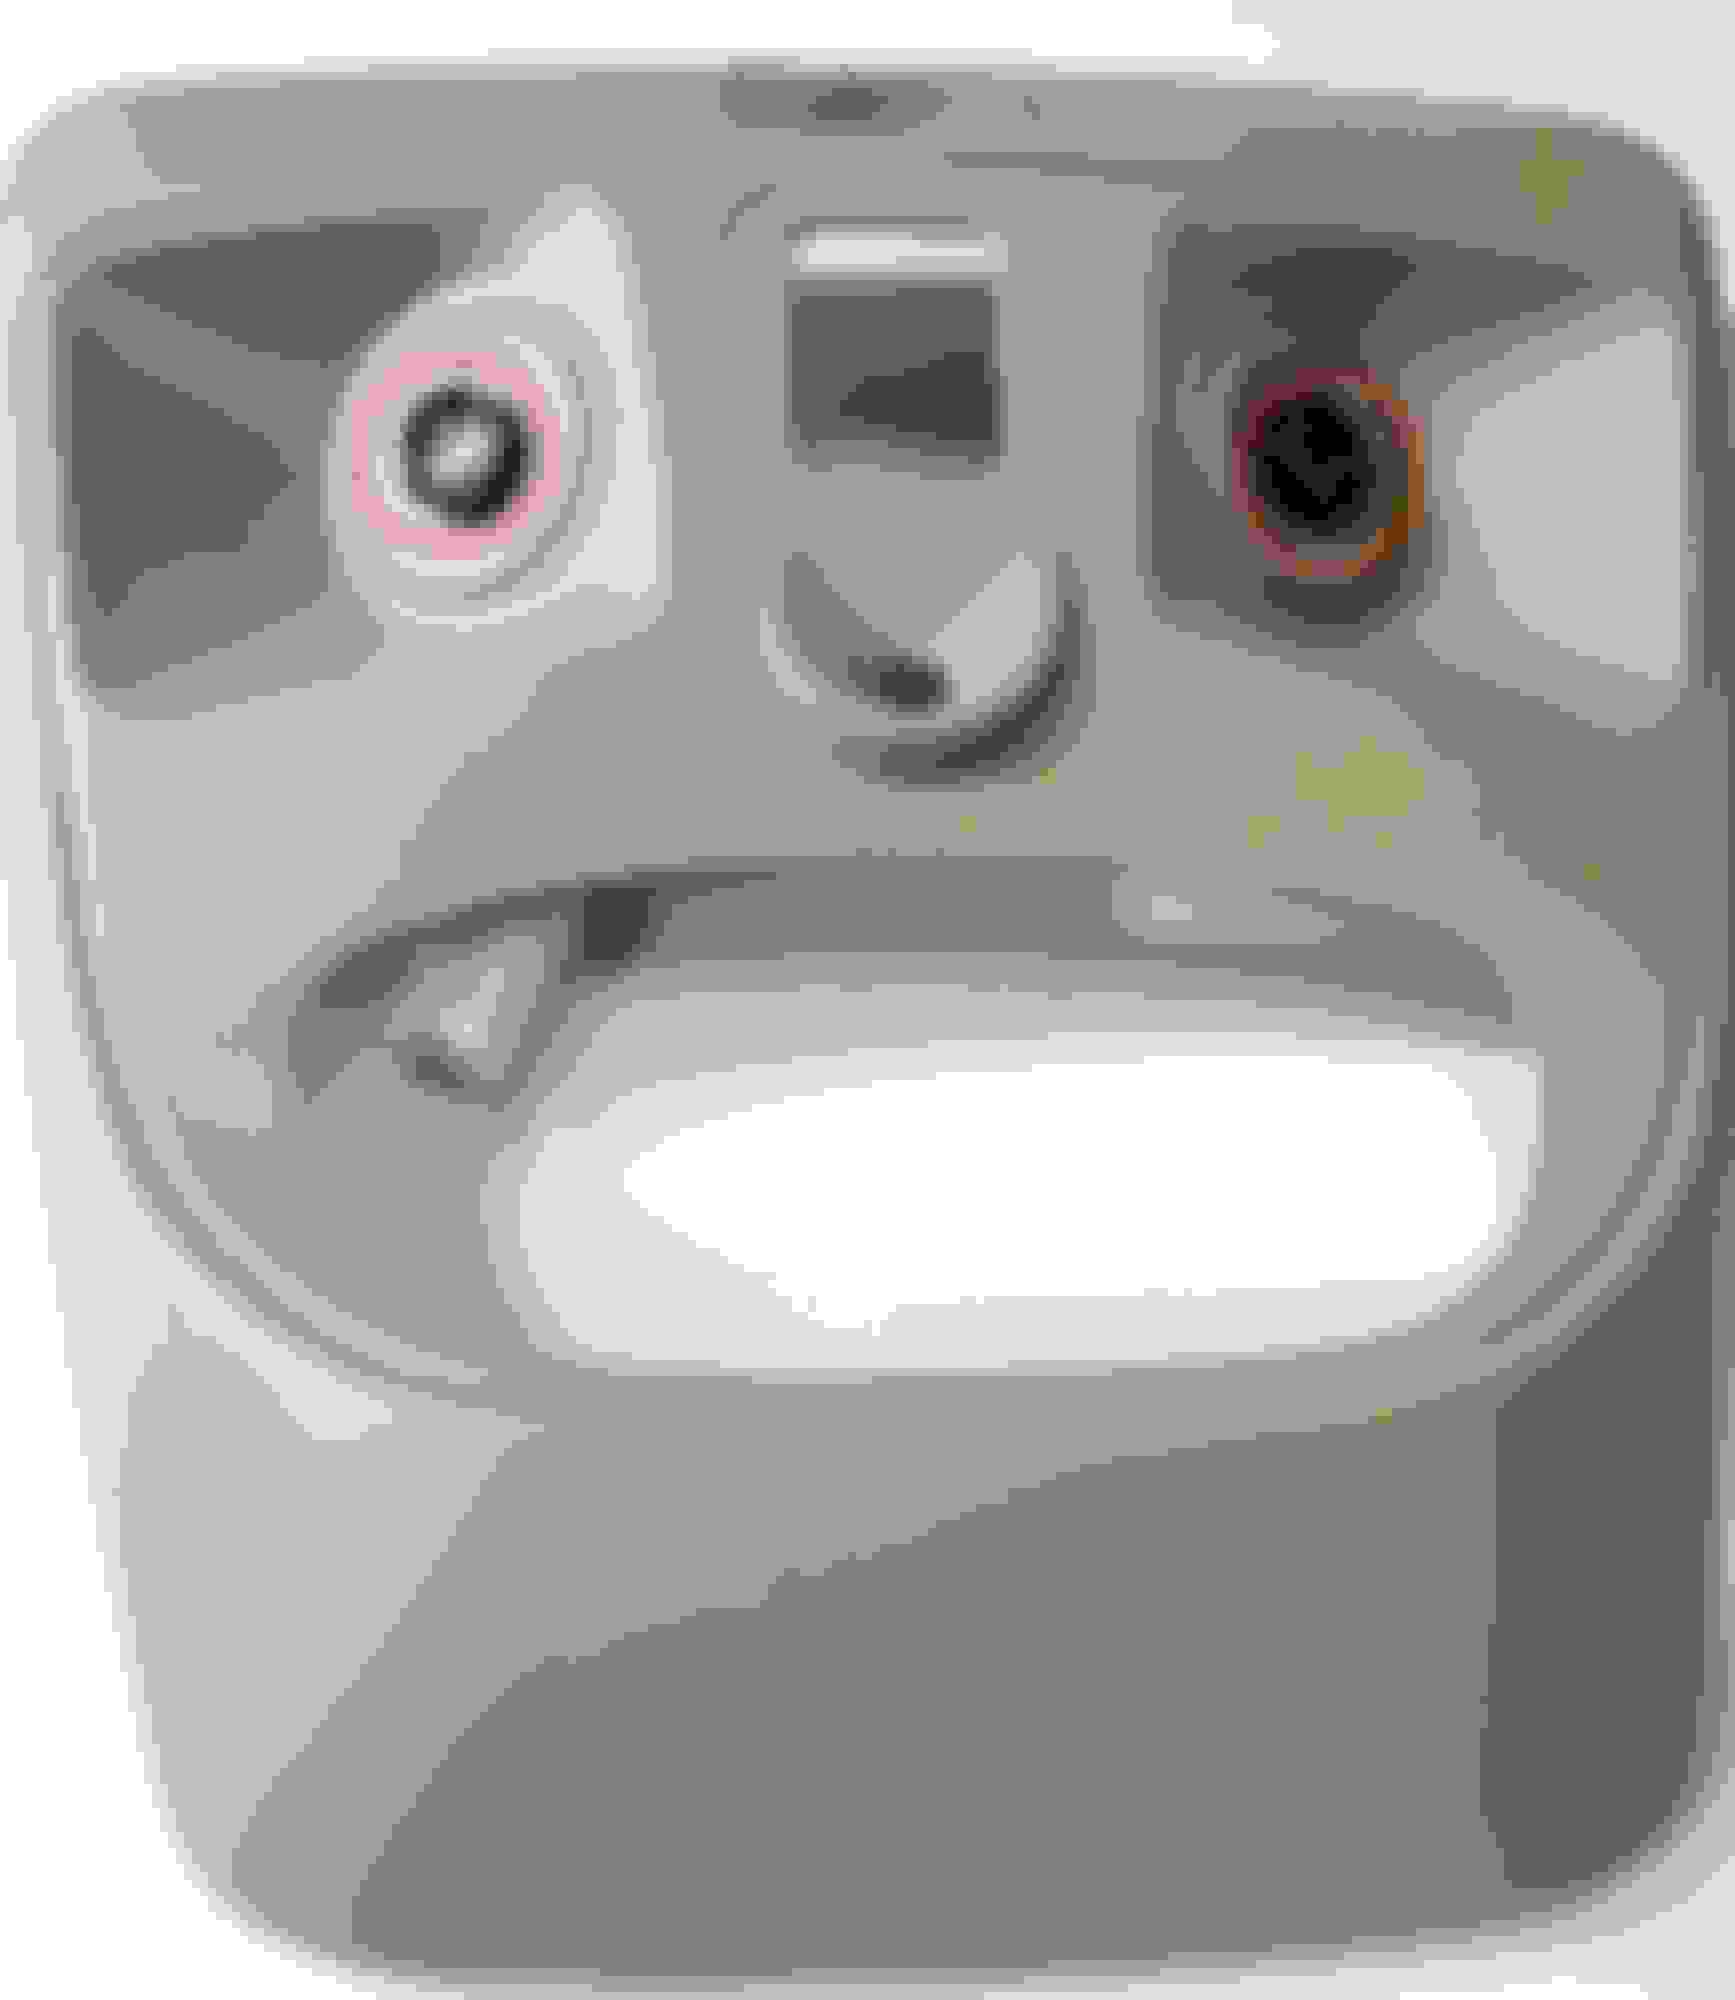
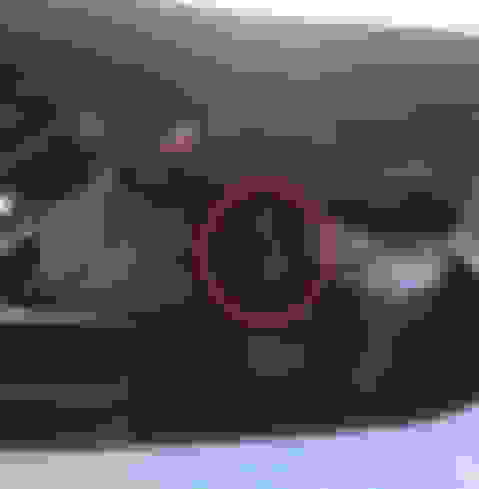
Photo of console - Lights circled in red:
Console Removal:
1) First open the sunroof. Then pull back the rubber seal around the sunroof. You only need to pull the front part by the console.
2) Once the seal is pulled off, you can carefully pull down the headliner to see the back side of the console. The console is held up by four (4) clips. One in each corner. Their is a plastic trim above the headliner which the clips pop in to.
3) Right rear clip (by sunroof). I pushed down on this clip from the back with one finger while pulling down on the console with my other hand and pushing up on the headliner with both thumbs. This should pop out fairly easy.
4) Repeat for Left rear clip.
5) The front clips (by window) are a bit more difficult. You will need a door puller tool to get behind the console and "pop" the clips. These are very tight. Be careful as these could break. If you do that, the console won't hold up anymore. Be careful not to hit the windshield either.
6) Photo below shows both front clips (after popping off console) and the plug for the display which you need to disconnect.
7) Photo below is of the rear clips (after popping off console) and the two plugs you need to disconnect. One is for the lights, the other is for the sunroof and rear lift gate door switches.
At this point your console will be free to remove. If removal is all you needed, you do not need to read further. Reinstall in reverse order.
If your lights will no longer turn off when you push them up, it is because of a broken "catch" on the light lens. To my knowledge, you cannot purchase this part by itself. Therefore your options are:
a) Replace the entire console ($180). If you're lucky you can find one at a junk yard for cheaper but will probably have same issue.
b) Wedge a piece of paper beside the light between the lens and the console to hold it up (what I did until I could pull this apart).
c) Disconnect the B+ (constant power) wire. Light will still turn on with doors & dimmer switch. Just won't turn on by pushing the light.
d) Install new toggle switches to control the lights (what I did).
Light removal:
8) Below you will see the plug for the individual light and two tork screws (T-8 bit). Disconnect the plug and remove the tork screws.
9) Here you can start to see how the light works. The two large silver metal tabs on both sides are the contacts for power when you turn the light on. If you press down on these, you will see that they disconnect from the circuit board pads. This is what happens when you push the light in to turn it off. In the middle you have a smaller metal tab (black) with a much smaller "flag" to one side. This flag is what catches on the lens "catch" to hold the light up "off". ** Sorry for poor photo quality. This is very small and difficult to focus on. **
10) With the light removed, you can see the lens. This just slides right out. ** PLEASE NOTE ** the lens has four tabs to align it properly. Make sure you place it back in the correct position.
11) THE LENS IS THE ISSUE. One of the pins also has a plastic "Catch". It is a slot in the plastic which allows the "Flag" (from the light I mentioned earlier) to slide down and then catch when you press it once and then slide down and release when you press it again. The plastic broke on my drivers side and therefore will no longer catch. ** Sorry for poor photo quality. This is very small and difficult to focus on. **
12) Option "C" - Disconnect the supply wire.
The light has three wires.
1) The black is the ground.
2) The red is the "control" wire. The red wire supplies power when you open the door and when you rotate the dimmer switch on the dash all the way up.
3) The white wire is the B+ (constant power) wire. If all you want to do is to disable the light from turning on when you push it, simply disconnect the white wire. The wire has a pin which locks it in the plug. You can push this pin in to pull the wire out and then tape the end off. DO NOT LEAVE IT EXPOSED. The light will still turn on when you open the doors or rotate the dimmer switch.
13) Option "D" - Install new switches.
I still wanted to be able to use the lights individually as they were intended. I've been messing with electronics since I was a kid so I happen to have a couple of toggle switches available. You can pick these up online or possibly at an auto parts store. Therefore I carefully drilled two small holes in the console, cut the white wire in half and then soldered the two ends to the toggle switch. Now if I want to turn on the passenger side without the drivers, I can just flip the switch on that side. Same for the drivers. It may not be as pretty, but it works and is a LOT cheaper than replacing the entire console. Although the drivers light only had the problem, I install switches for both so I don't have to pull it apart again later.
Photo of the switches soldered to the wires.
And there you have it. A cheaper alternative to repair the damaged lights on the overhead console. Hope this helps.
Last edited by calamity coyote; Jul 13, 2020 at 03:33 PM.
Since I've seen a few post asking how to remove the overhead console as well as the "Push Button" lights not turning off, I thought I would put together a DIY on how to remove this console as well as options for fixing the broken light.
********* Disclaimer: Proceed at your own risk. Any damage or injury is your responsibility. Please read and understand ALL information before attempting. Do not attempt if you are not comfortable with any of this. **********
The lights are part of the overhead console unit and I do not see any options to buy them separately. The cheapest price I find for this console (part # 5KM781D1AE) is $180.55. The part that breaks and causes the lights to stay on is a small, cheap piece of plastic. More on that later.
Photo of console - Lights circled in red:
Console Removal:
1) First open the sunroof. Then pull back the rubber seal around the sunroof. You only need to pull the front part by the console.
2) Once the seal is pulled off, you can carefully pull down the headliner to see the back side of the console. The console is held up by four (4) clips. One in each corner. Their is a plastic trim above the headliner which the clips pop in to.
3) Right rear clip (by sunroof). I pushed down on this clip from the back with one finger while pulling down on the console with my other hand and pushing up on the headliner with both thumbs. This should pop out fairly easy.
4) Repeat for Left rear clip.
5) The front clips (by window) are a bit more difficult. You will need a door puller tool to get behind the console and "pop" the clips. These are very tight. Be careful as these could break. If you do that, the console won't hold up anymore. Be careful not to hit the windshield either.
6) Photo below shows both front clips (after popping off console) and the plug for the display which you need to disconnect.
7) Photo below is of the rear clips (after popping off console) and the two plugs you need to disconnect. One is for the lights, the other is for the sunroof and rear lift gate door switches.
At this point your console will be free to remove. If removal is all you needed, you do not need to read further. Reinstall in reverse order.
If your lights will no longer turn off when you push them up, it is because of a broken "catch" on the light lens. To my knowledge, you cannot purchase this part by itself. Therefore your options are:
a) Replace the entire console ($180). If you're lucky you can find one at a junk yard for cheaper but will probably have same issue.
b) Wedge a piece of paper beside the light between the lens and the console to hold it up (what I did until I could pull this apart).
c) Disconnect the B+ (constant power) wire. Light will still turn on with doors & dimmer switch. Just won't turn on by pushing the light.
d) Install new toggle switches to control the lights (what I did).
Light removal:
8) Below you will see the plug for the individual light and two tork screws (T-8 bit). Disconnect the plug and remove the tork screws.
9) Here you can start to see how the light works. The two large silver metal tabs on both sides are the contacts for power when you turn the light on. If you press down on these, you will see that they disconnect from the circuit board pads. This is what happens when you push the light in to turn it off. In the middle you have a smaller metal tab (black) with a much smaller "flag" to one side. This flag is what catches on the lens "catch" to hold the light up "off". ** Sorry for poor photo quality. This is very small and difficult to focus on. **
10) With the light removed, you can see the lens. This just slides right out. ** PLEASE NOTE ** the lens has four tabs to align it properly. Make sure you place it back in the correct position.
11) THE LENS IS THE ISSUE. One of the pins also has a plastic "Catch". It is a slot in the plastic which allows the "Flag" (from the light I mentioned earlier) to slide down and then catch when you press it once and then slide down and release when you press it again. The plastic broke on my drivers side and therefore will no longer catch. ** Sorry for poor photo quality. This is very small and difficult to focus on. **
12) Option "C" - Disconnect the supply wire.
The light has three wires.
1) The black is the ground.
2) The red is the "control" wire. The red wire supplies power when you open the door and when you rotate the dimmer switch on the dash all the way up.
3) The white wire is the B+ (constant power) wire. If all you want to do is to disable the light from turning on when you push it, simply disconnect the white wire. The wire has a pin which locks it in the plug. You can push this pin in to pull the wire out and then tape the end off. DO NOT LEAVE IT EXPOSED. The light will still turn on when you open the doors or rotate the dimmer switch.
13) Option "D" - Install new switches.
I still wanted to be able to use the lights individually as they were intended. I've been messing with electronics since I was a kid so I happen to have a couple of toggle switches available. You can pick these up online or possibly at an auto parts store. Therefore I carefully drilled two small holes in the console, cut the white wire in half and then soldered the two ends to the toggle switch. Now if I want to turn on the passenger side without the drivers, I can just flip the switch on that side. Same for the drivers. It may not be as pretty, but it works and is a LOT cheaper than replacing the entire console. Although the drivers light only had the problem, I install switches for both so I don't have to pull it apart again later.
Photo of the switches soldered to the wires.
And there you have it. A cheaper alternative to repair the damaged lights on the overhead console. Hope this helps.
Thank you very much for sharing such a detailed post, indeed it has helped me understand the issue better. I was under an impression, I was the only one with this issue until I saw your pos
t.
While I'm following your instructions, may I ask for a small favor?
If possible can you please let me know where I can get the new LED's and lenses?
While I'm following your instructions, may I ask for a small favor?
If possible can you please let me know where I can get the new LED's and lenses?
This was answered in my intro to this thread.
Originally Posted by calamity coyote
The lights are part of the overhead console unit and I do not see any options to buy them separately. The cheapest price I find for this console (part # 5KM781D1AE) is $180.55.
Therefore, I have not seen any options to buy just the LED bulbs or the lenses by themselves. You have to buy the entire console. If I knew where to get the lenses by themselves, I would of just ordered them to fix the problem instead of adding the switches. This is the reason for this write up to work around this issue of not being able to get them without replacing entire console.
The instructions would be the same for removing the console. It still mounts the same. Part number for the entire console is in my original post. However, it has been discontinued. So finding one may be difficult and probably over $200 now if you do.