
Step by Step OEM Fog Light Kit Installation With Pictures


Thread Starter
|
Junior Member
Joined: Apr 2008
Posts: 8
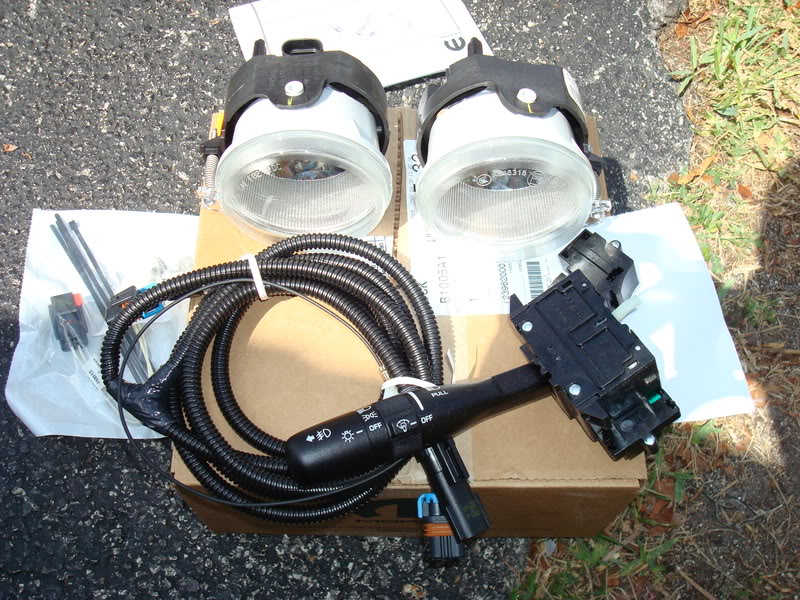
Hello this is a little guide that shows the installation of the OEM Fog Light Kit on my 2007 base Pacifica mine came prewired so no wire splicing or removing the fuse box was done here, I wish the instructions were more specific in some steps it took me 45 minutes from the moment I disconnected the battery to
finish the job, I have a couple of tips that will save some time.
The Kit
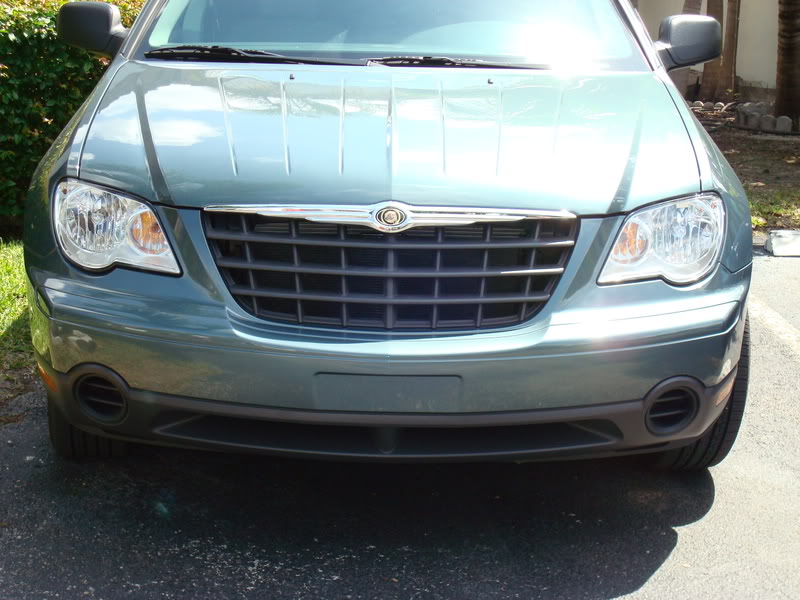
Before
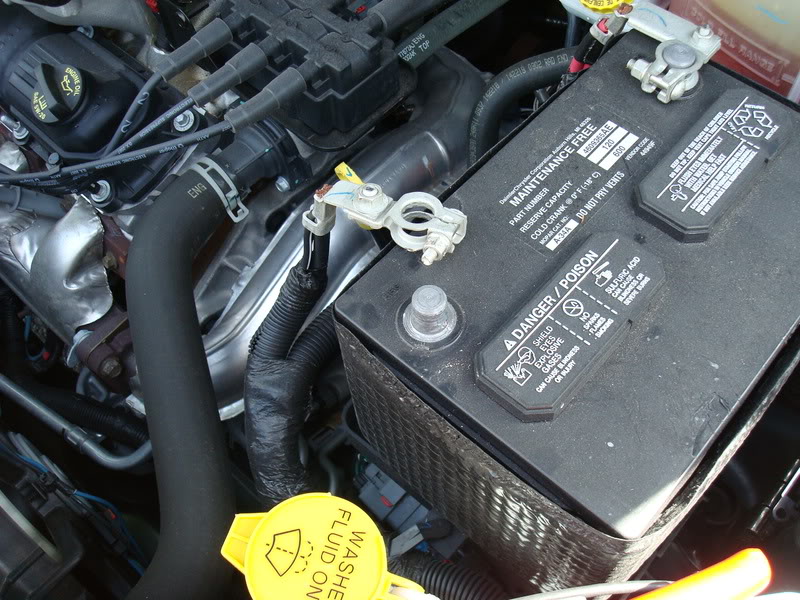
First thing to do disconnect the battery
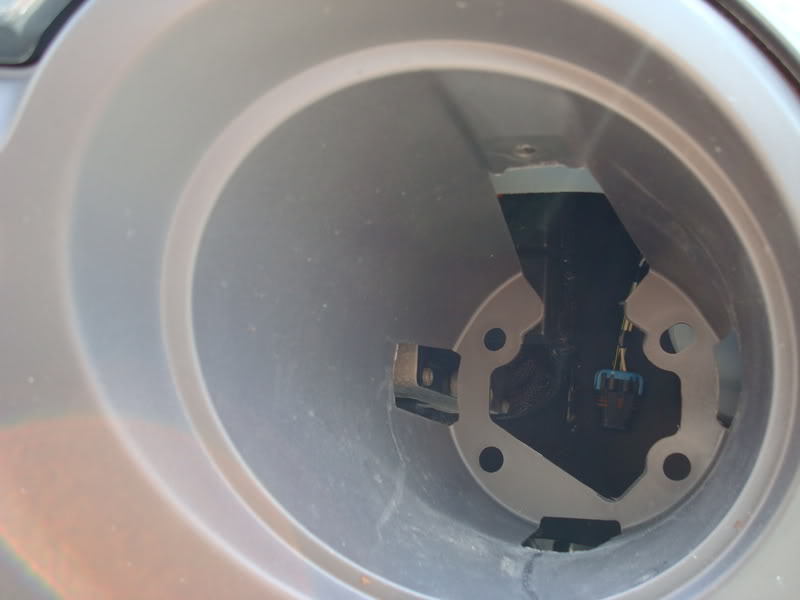
After you remove the plastic guard you will see the wire somewhere near the opening
The fog light *tip there is no left/right*
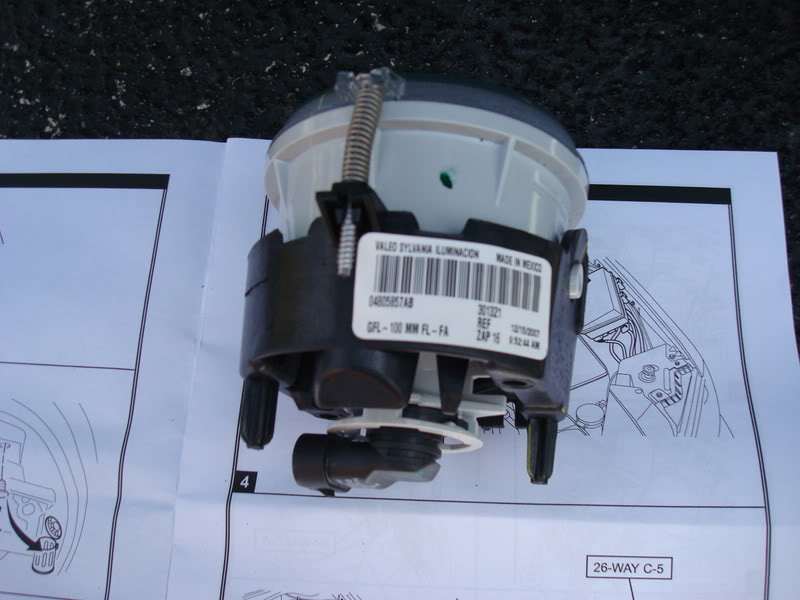
After you install the light in the spacesecure itwithtwo screws in the back *tip you will need a torx # 20 screwdriver*
and make sure the screw with the spring is facing up
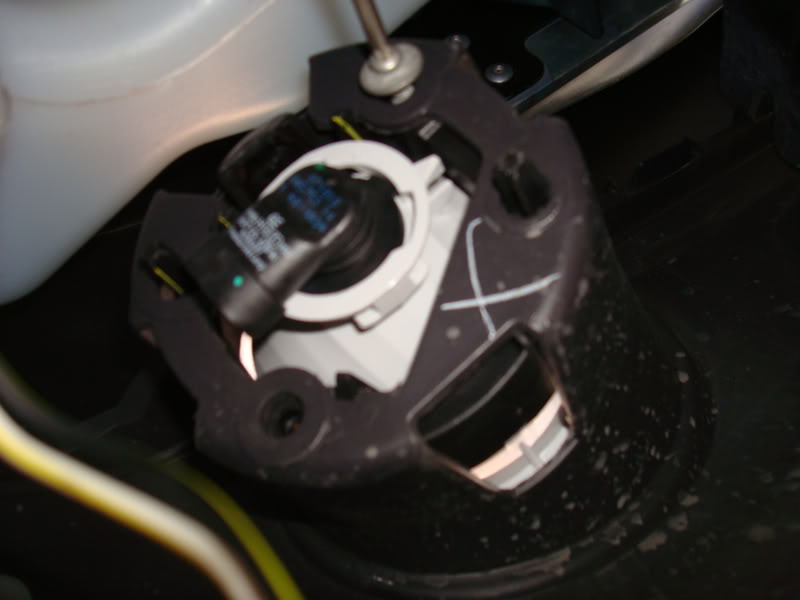
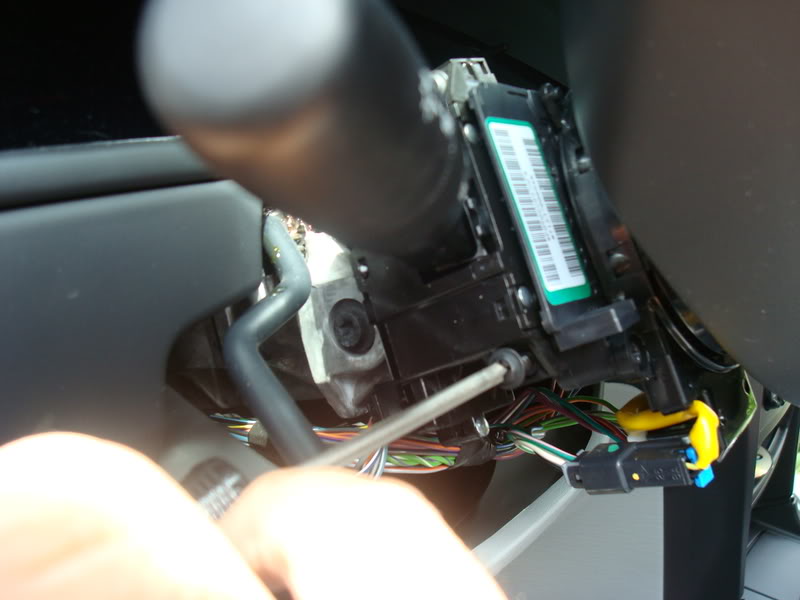
After both lights are installed is time to replace the switch, remove 3 screws under the plastic steering column cover after you do that gently squeeze the middle of each side to releasea tab on each side *tip to remove the top part you should lower the steering wheel all the way down a viceversa for the lower part, to install do the same or it will not go in*
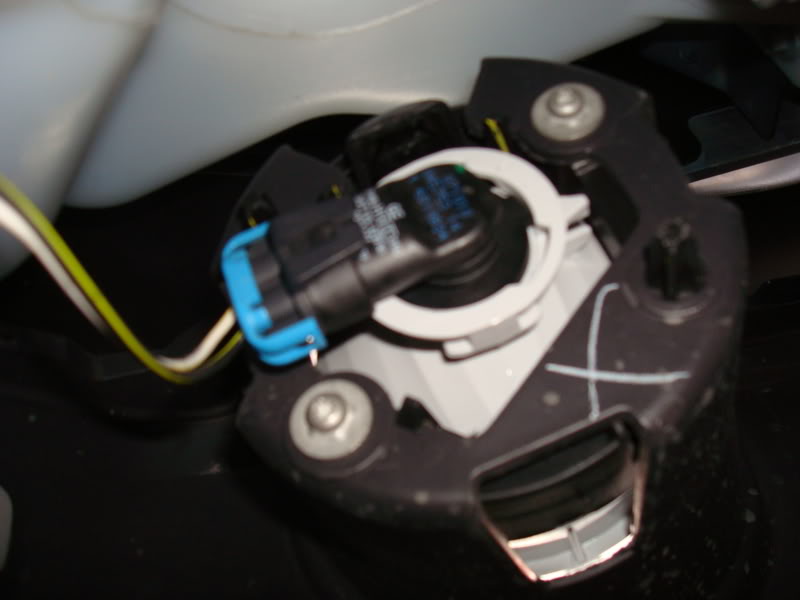
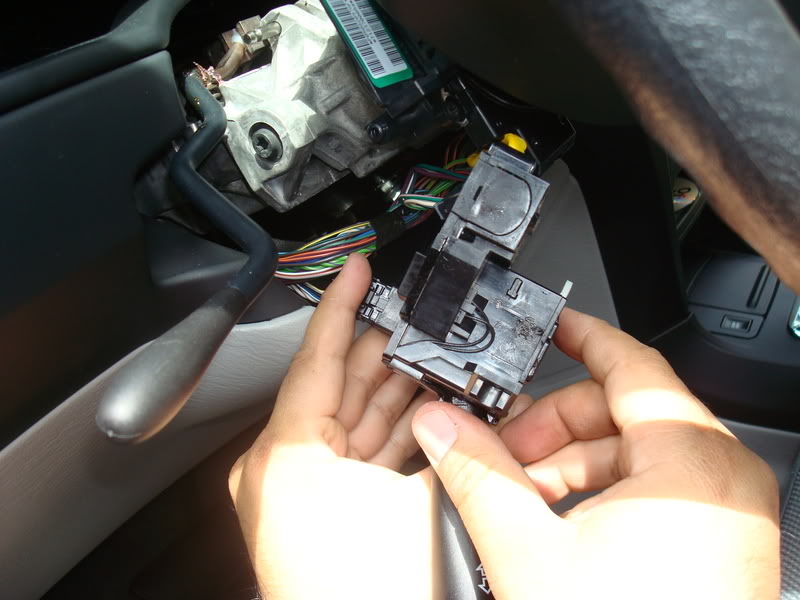
Remove the factory installed switch by taking off the two screws
To install the new switch do the same but in reverse *tip do not forget ot connect the switch*
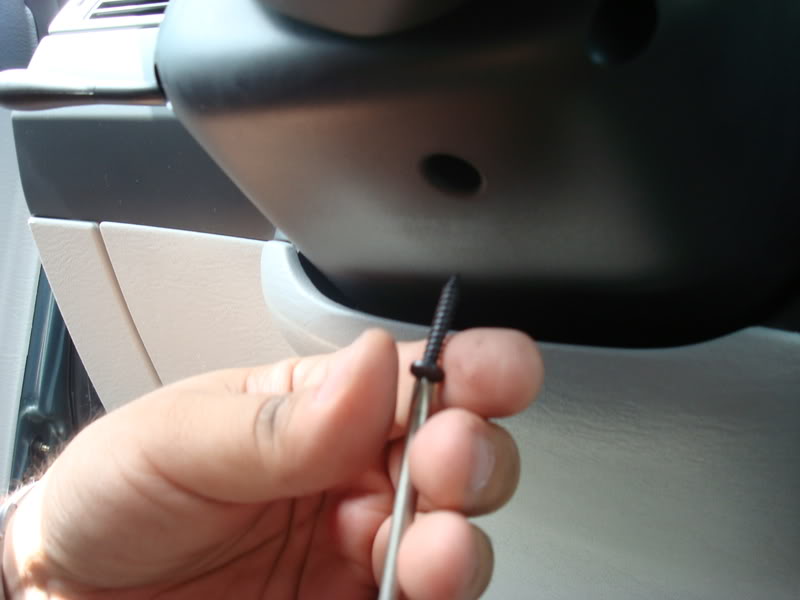
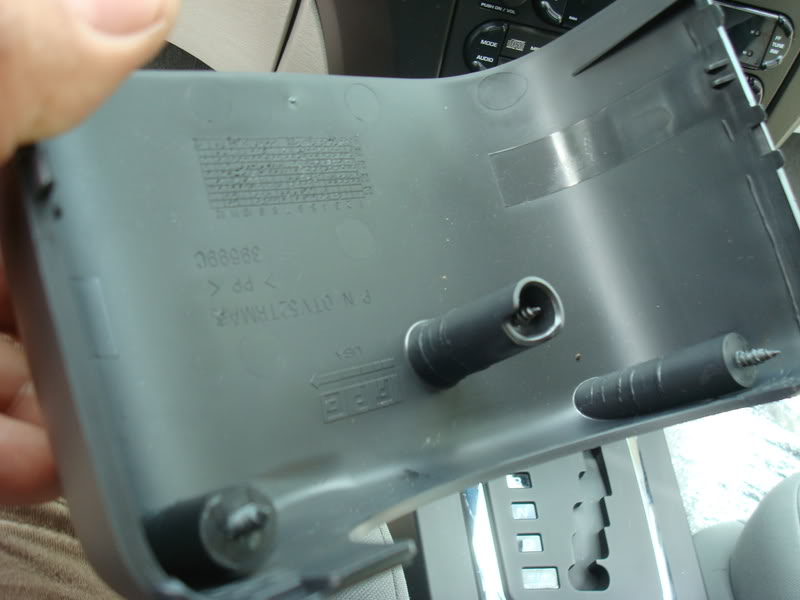
Reinstall the plastic steering column cover *tip pre-thread the 3 screws in their socket it will save you time when putting the plastic back together if you do no do that the screws will no find their hole and will fall out, trust me I wasted 15 minutes in this step* after that connect the battery and test the lights
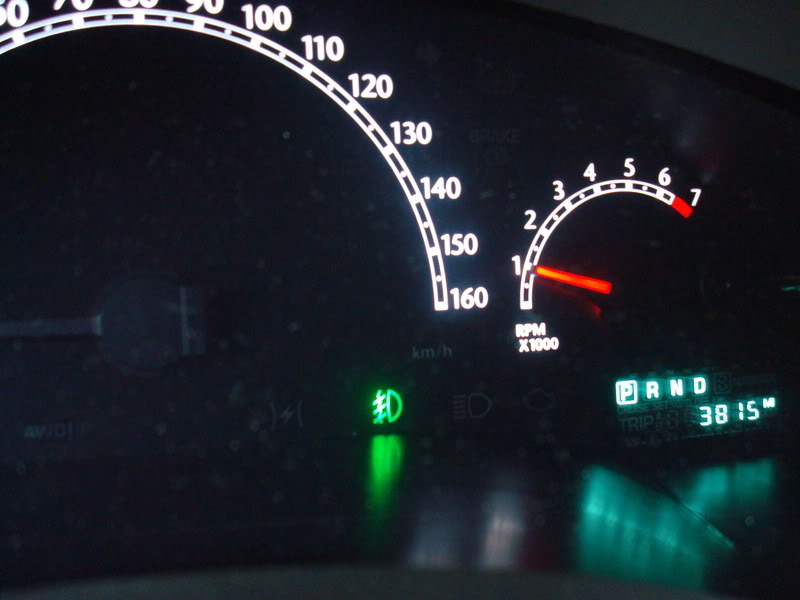
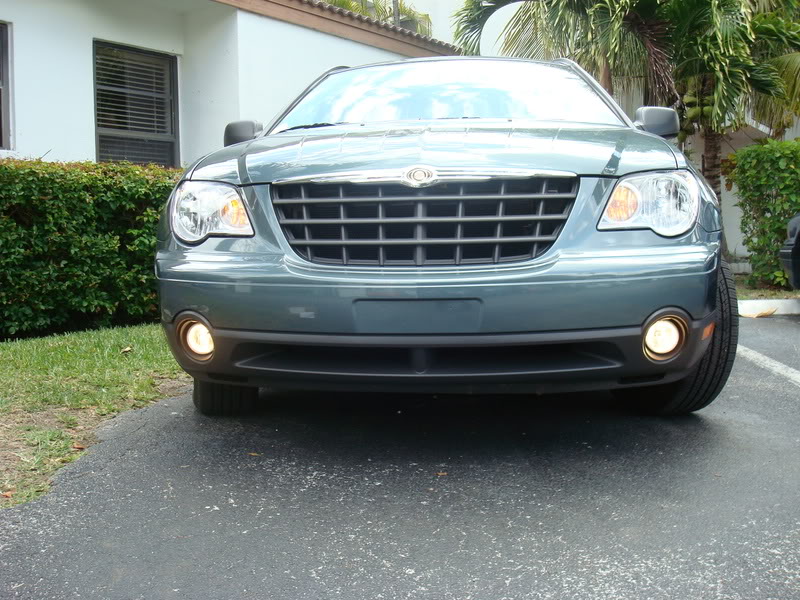
Finally you will see the "On" indicator for the lights on the instrument cluster
And the after picture
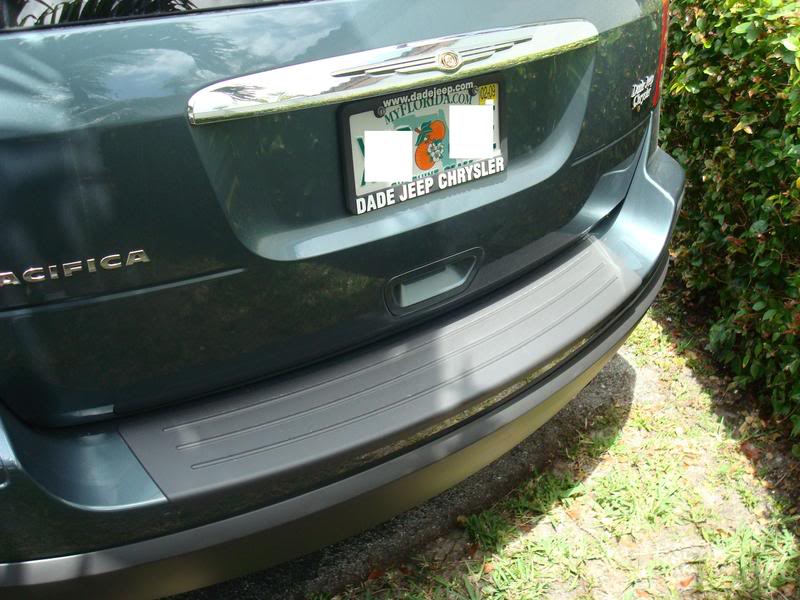
This is something else I got at the dealer for $30.00 the scruff pad for the rear bumper
Only things left to do is install the roof cross bars, the plastic liner to protect the carpet from spills and stains and the rear cargo retractable liner cover I got the last one on Ebay for $50.00
I hope this mini how to will help a lot of people trying to install the fog lights.
finish the job, I have a couple of tips that will save some time.
The Kit
Before
First thing to do disconnect the battery
After you remove the plastic guard you will see the wire somewhere near the opening
The fog light *tip there is no left/right*
After you install the light in the spacesecure itwithtwo screws in the back *tip you will need a torx # 20 screwdriver*
and make sure the screw with the spring is facing up
After both lights are installed is time to replace the switch, remove 3 screws under the plastic steering column cover after you do that gently squeeze the middle of each side to releasea tab on each side *tip to remove the top part you should lower the steering wheel all the way down a viceversa for the lower part, to install do the same or it will not go in*
Remove the factory installed switch by taking off the two screws
To install the new switch do the same but in reverse *tip do not forget ot connect the switch*
Reinstall the plastic steering column cover *tip pre-thread the 3 screws in their socket it will save you time when putting the plastic back together if you do no do that the screws will no find their hole and will fall out, trust me I wasted 15 minutes in this step* after that connect the battery and test the lights
Finally you will see the "On" indicator for the lights on the instrument cluster
And the after picture
This is something else I got at the dealer for $30.00 the scruff pad for the rear bumper
Only things left to do is install the roof cross bars, the plastic liner to protect the carpet from spills and stains and the rear cargo retractable liner cover I got the last one on Ebay for $50.00
I hope this mini how to will help a lot of people trying to install the fog lights.

Senior Member
Joined: Mar 2008
Posts: 144
Suggest looking at the Weathertech floor liners. They are great.
BTW .... when I bought my Pac I thought the Magnesium Green was an unusual color. Now that I have the vehicle......... I realize they are like fleas on a dog.
[IMG]local://upfiles/5355/75E0569CBC0D4AED948AD9D4D3D0127D.jpg[/IMG]
BTW .... when I bought my Pac I thought the Magnesium Green was an unusual color. Now that I have the vehicle......... I realize they are like fleas on a dog.
[IMG]local://upfiles/5355/75E0569CBC0D4AED948AD9D4D3D0127D.jpg[/IMG]
Thread Starter
|
Junior Member
Joined: Apr 2008
Posts: 8
SARG, thanks for the weathertech suggestion, do you have them? if you do do they fit nicely?
thanks, I had the choice of getting a silver, pearl white or the "green", I do not like white cars the silver was the demo car, down here in Florida I do not see this color often but I like it.
thanks, I had the choice of getting a silver, pearl white or the "green", I do not like white cars the silver was the demo car, down here in Florida I do not see this color often but I like it.
Senior Member
Joined: Mar 2008
Posts: 144
I have purchased the floorliners and couldn't be happier..... But I'm up in the snowbelt. I would buy them again even if I was down south.
I have alsobought the window vents ( shown in picture ) for three of my vehicles so far. They aren't cheap at about $95 for a set of four but they last and they do not glue on ...... they fit inside the frames. They are much higher quality than Ventshade and the others.
I even spent the big dough on their plate frames because they last the life of the car.
http://www.weathertech.com/

Junior Member
Joined: Mar 2008
Posts: 8
Did my fog lights this Saturday, your post helped me decide to go ahead and put them on. Once I knew the wires were already there that was what cinched it for me. Easy job, like you said maybe 45 min or so.
I also installed chrome handle covers, AVS smoke bug sheild and Chrysler mud flaps. The handle covers really look nice. If I get around to it I will post some photos. Mine is also the same color as yours.
I also installed chrome handle covers, AVS smoke bug sheild and Chrysler mud flaps. The handle covers really look nice. If I get around to it I will post some photos. Mine is also the same color as yours.

Joined: Sep 2008
Posts: 10
From:
Thanks for the post... You convinced me to go ahead and purchase the set... Where did you purchase your set... Ebay seems to be the cheapest place to pick them up....
Senior Member
Joined: Mar 2008
Posts: 144
I obtained mine from the site below. Use caution if you deal on Ebaythat you obtain a factory OEM set with the foglight replacement control stalk included.
http://www.wyckoffchryslerparts.com/chpafogli.html
http://www.wyckoffchryslerparts.com/chpafogli.html

Junior Member
Joined: Oct 2008
Posts: 3
Well I got my kit last week and just finished installing it today. My 07 Pacifica is the touring model like Sargs, same color to be exact. Mine wasn't pre-wired though. Here are a couple of helpful hints that I found out while doing this mod.
[ul][*]The instructions have no words, just pics. The pics are very detailed and I could find out where everything went very easily[*]The switch was simple to install as were the lights themselves[*]Running the longer cable to the lights were very easy and so was grounding it under the fuse box (fuse box slides out after the clips are unsnapped)[/ul]
Here is where the tricky part comes in....
[ul][*]After unplugging the connector that you put the power splice into (26-way C-5) the wires go into spot #2 and spot #17 were already being used. I traced the wires and found a plug under the drivers side front bumper. I hooked up a test light and tested the power and found it to be for the fog lights. (works when the switched is turned on and off)The problem is it will only power one light as the other wire in the clip isn't power.[*]The connectors are not the same that came with the kit and do not fit together.[*]I spliced the kit connector, the one that goes into the fuse block together and then into the yellow/white wire (power from the switch)that was already in the car.[/ul]
The lights now work like they are suppossed to and the green fog lamp light in the dash works as well. The fpg lamps then go out when you put on the high beams and come back on when the high beams are turned off.
The install took a little bit longer as I had to find the clip and make a run to the auto part stor to get some electrical splices. I still have the connector installed in case I would ever need to disconnect. (Once installed I never would, just like things to look factory)
Hope this helps
Crazyotto

Junior Member
Joined: Sep 2008
Posts: 5
After reading this post I decided I would like to add these to my wifes 2006 Pacifica Touring. I looked, and the car is NOT pre-wired for them. They must have started that in 2007. Anyway, I have to assume the kit will come with the proper wiring harness to install them.