
Muttgrunt Detailed: '05 Chrysler 300 (renewed! with pics and write-up)


Thread Starter
|
Junior Member
Joined: Apr 2009
Posts: 6
From: Michigan
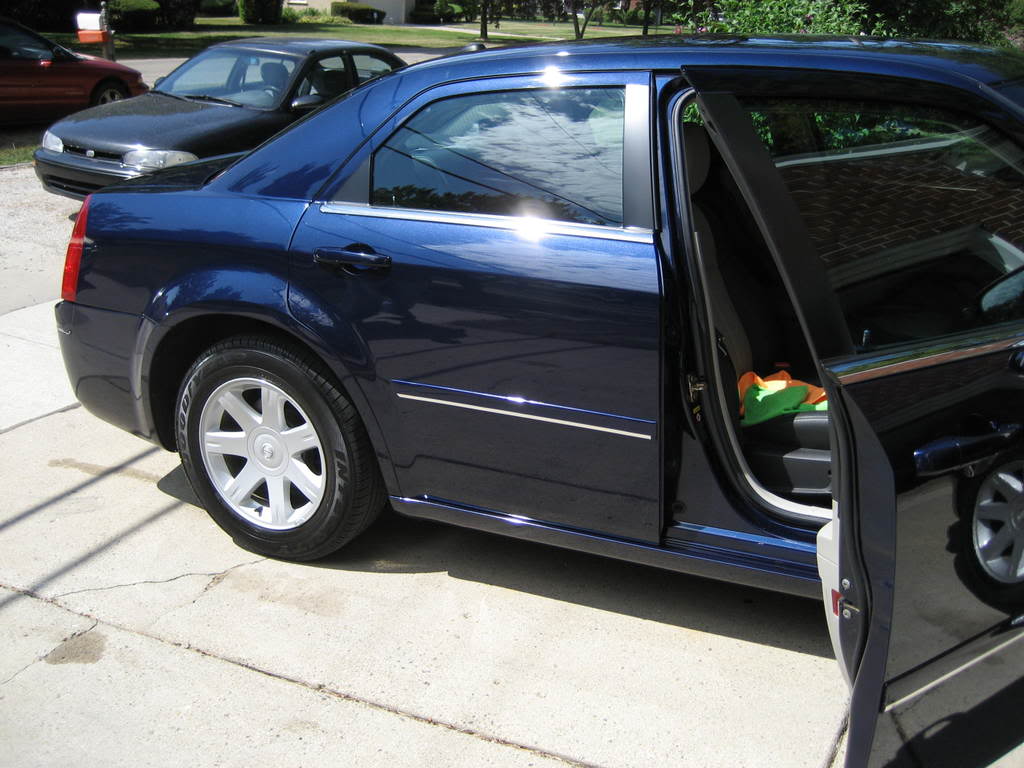
This 2005 Chrysler 300 was built in September 2004. It is owned by a friend of mine that jumped on the chance to have his car completely renewed. The poor girl hasn't had the luxury of always being garage kept, and had a lot of really major paint problems. Swirl city, scrapes, scratches, minor chips, random marks, and everything that would make a car look twice as old as it should was easily seen, especially after the initial wash and inspection.
Total time spent was 18-20 hours. I was luckily able to take my time as the family went to northern Michigan for vacation, and therefore had 6 days to spread the work around this girl. Because of that, I took my time and used around 4 days total to ensure everything would come out the way I wanted. The last two I could relax knowing the 300 was going to make an owner happy. When everything was said and done, the car was better than off the lot!
Exterior:
Palm Olive to strip off anything that might have been on it
Adam's Clay
CG Luber
Simple Green diluted 1:10
Menzerna Power Gloss
Menzerna PO85RD
CG JetSeal109
Rain-X
Wheels:
One Touch tire cleaner
Black Magic Tire Gel
P21S Wheel Cleaner Gel
Interior:
Einszett Cockpit Premium
Simple Green Diluted 1:10
Lexol Leather Cleaner
Lexol Leather Conditioner
Stoner's Invisible Glass
Tools:
PC 7424
LC CCS Orange Pad
LC CCS White Pad
Grit Guards
Painter's Tape
Foam applicator for Lusso
Uber microfiber applicator for JetSeal
Lots and lots of uber micro's, terry clothes, and cheapo microfibers
160gig iPod connected to cpu speakers to keep me going!
LSP:
Lusso Oro
Now for pics!
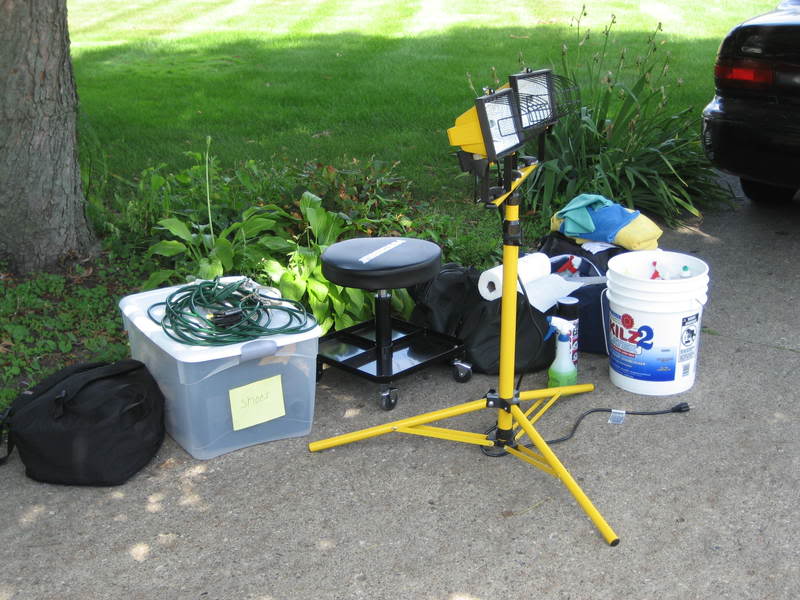
unloading from the car ready to get to work!
hmmm... what am I getting myself into...
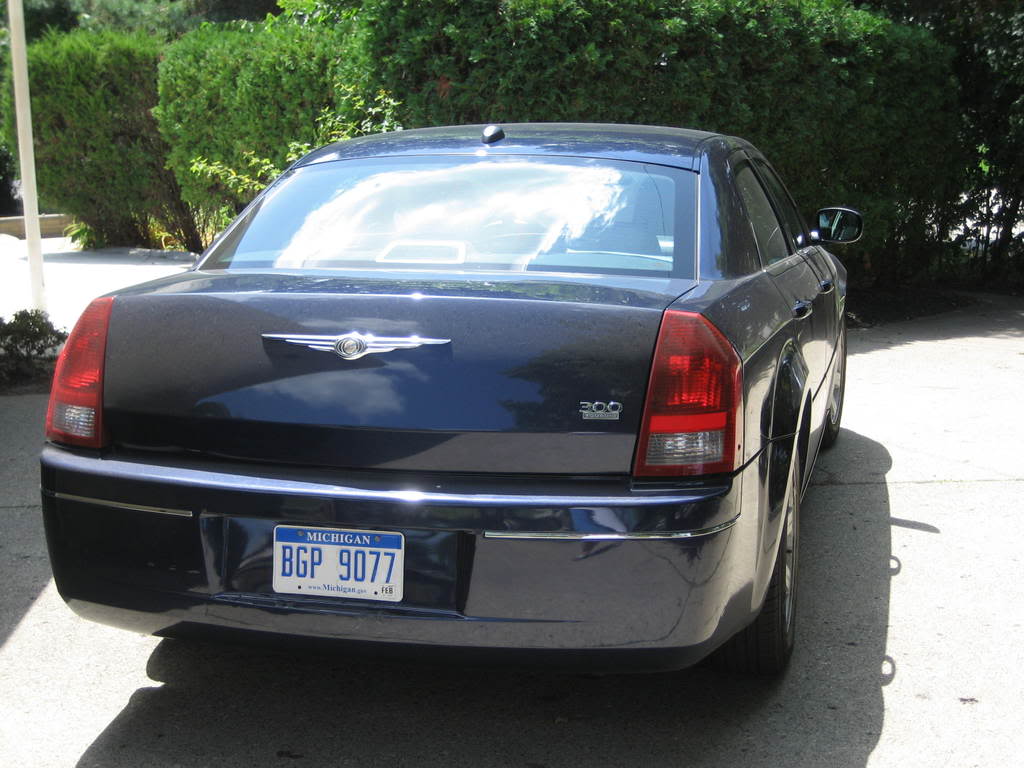
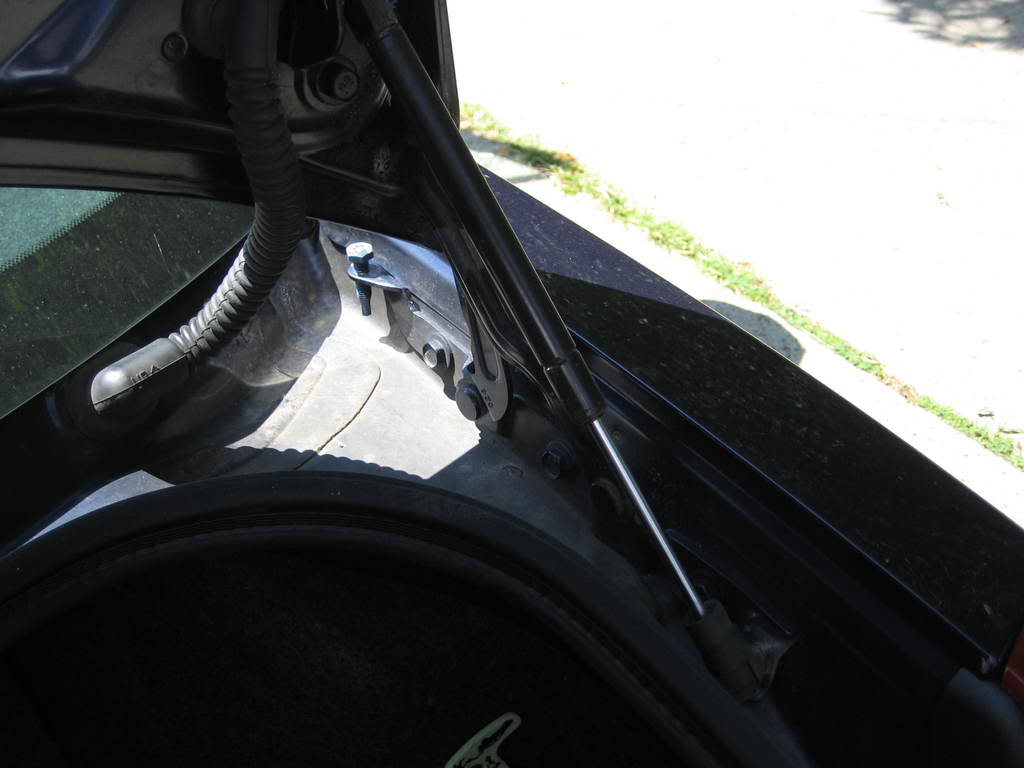
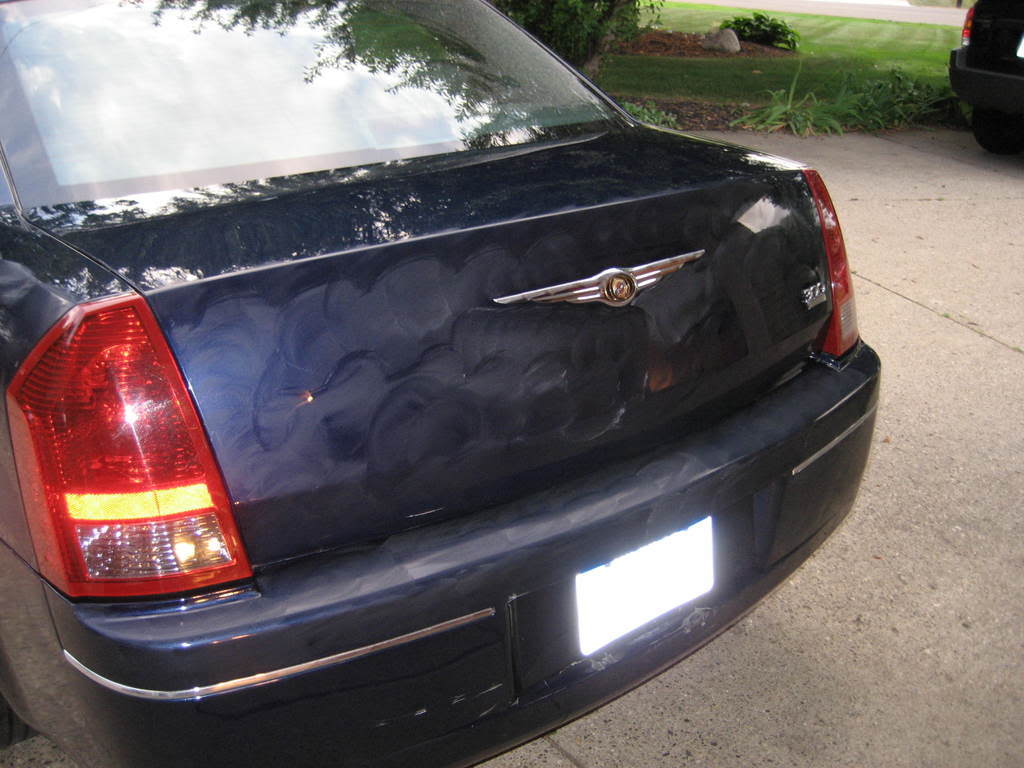
the trunk lid was really bad. Lot's of build up, old dirt and mud, and was a real pain. This is the only place i used simple green on the exterior.
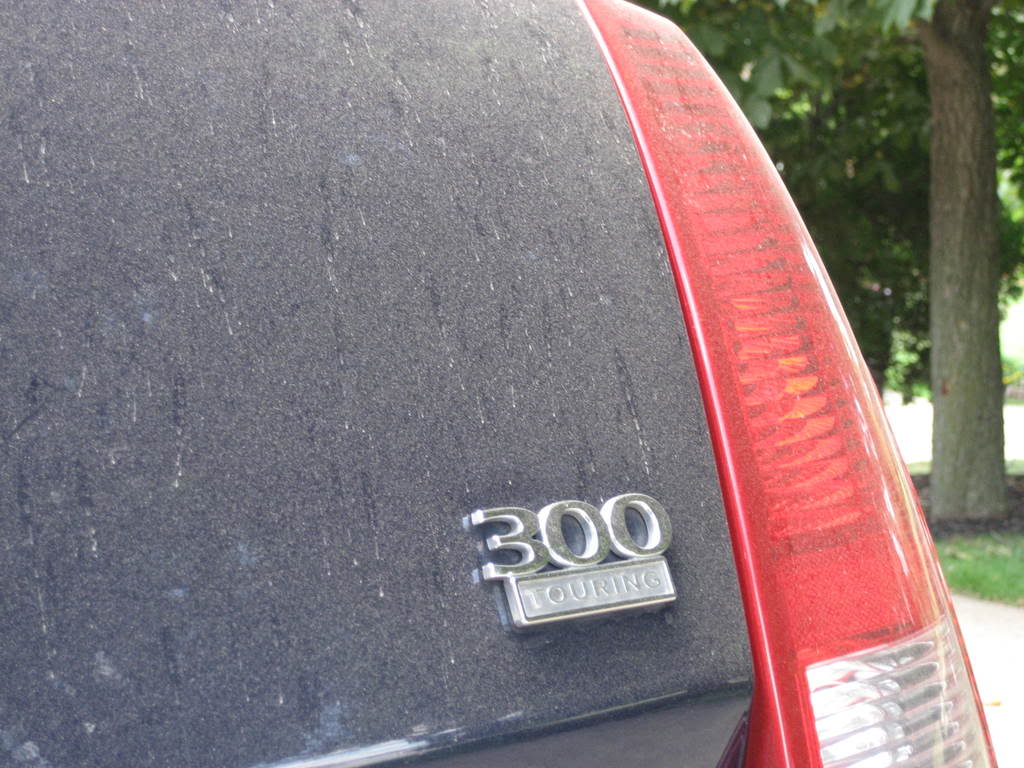
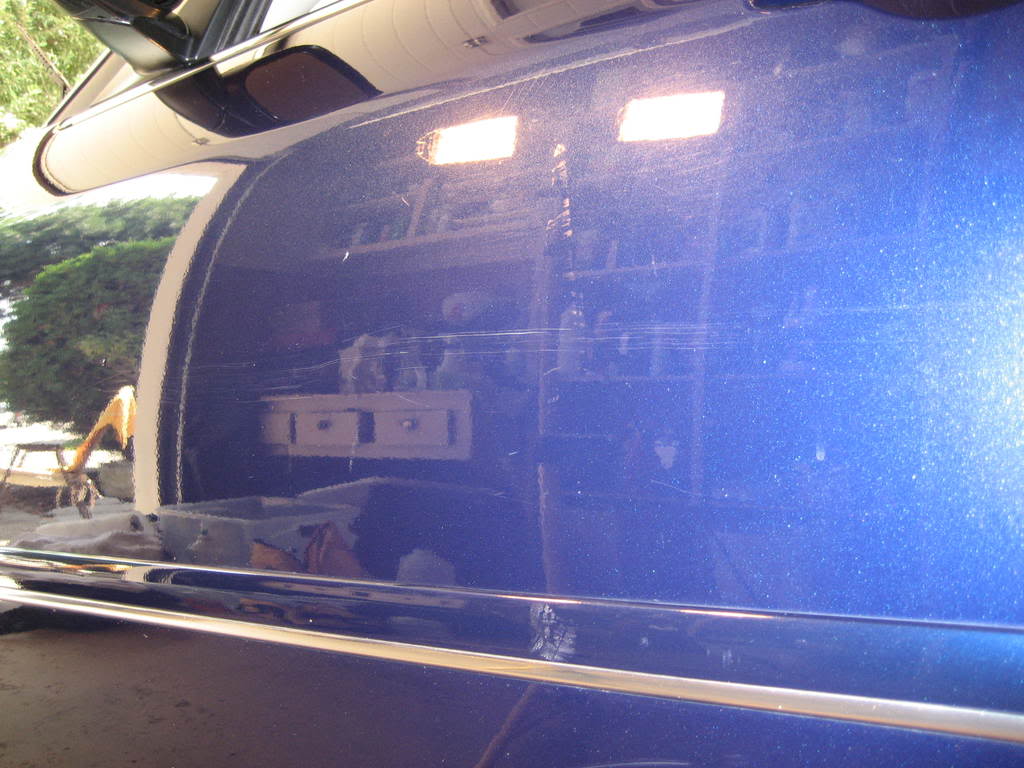
Onced washed off, I got to see all the scratches and swirls the dirt was covering!
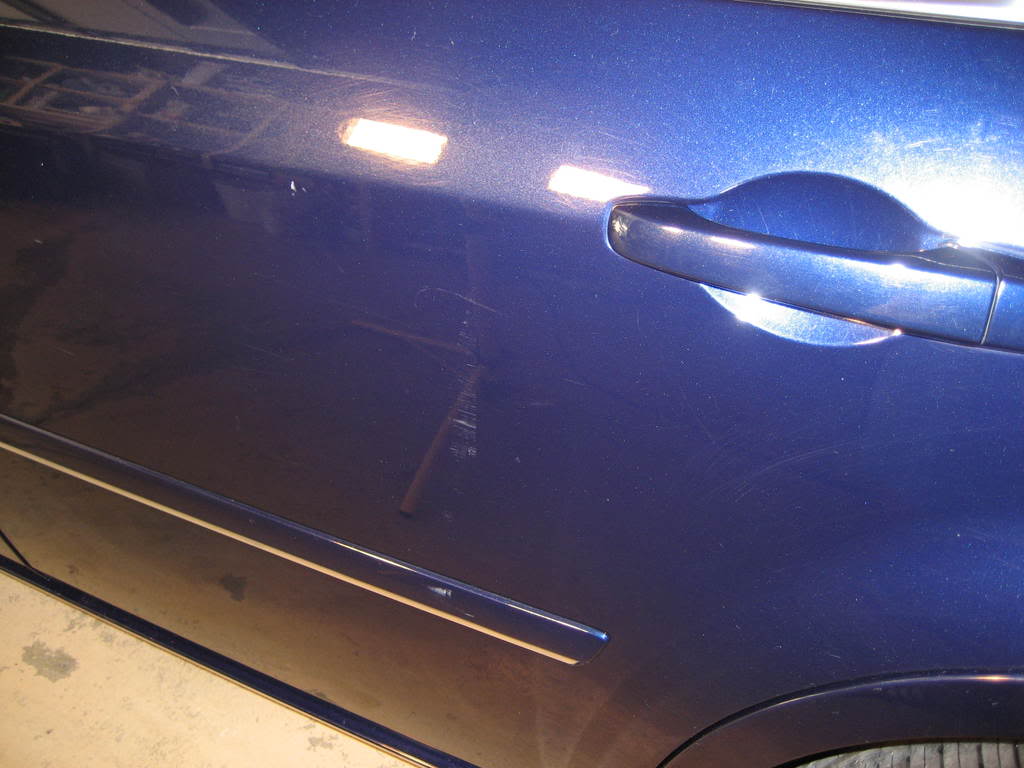
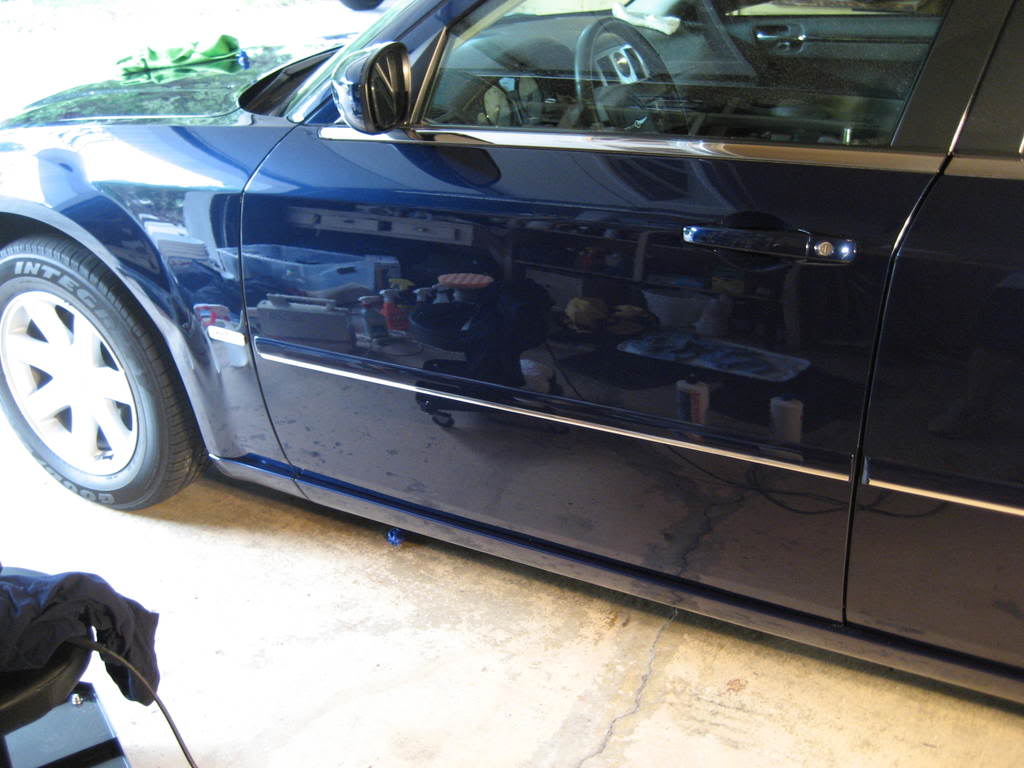
lots of marks on driver side passenger door:
driver's door:
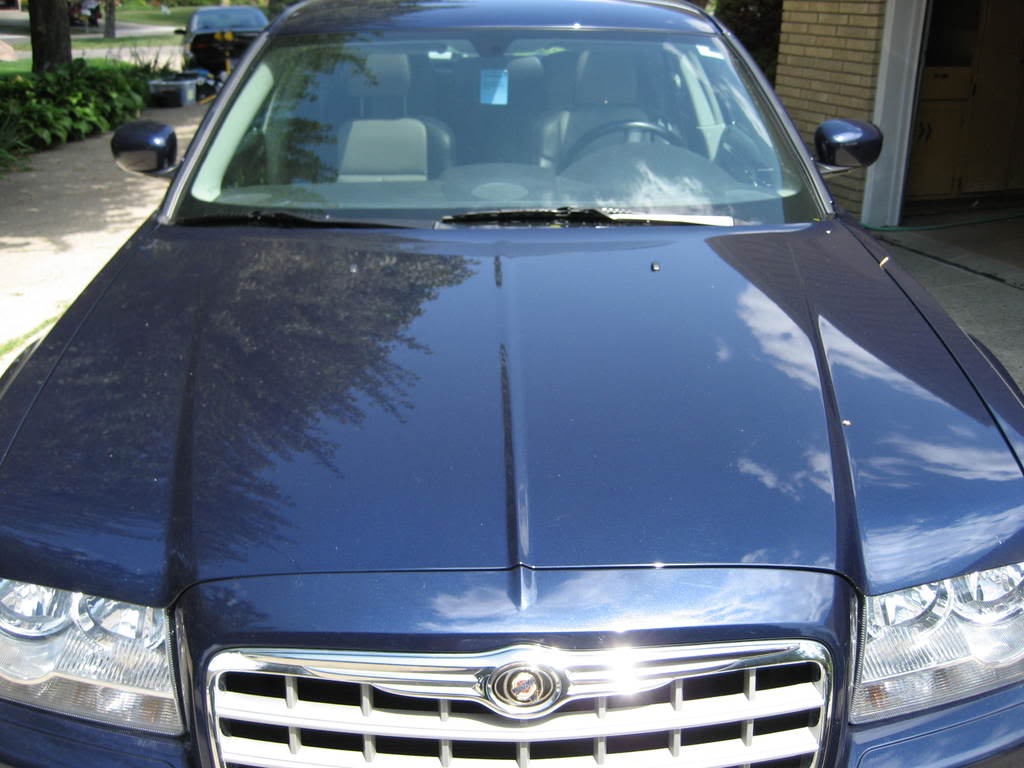
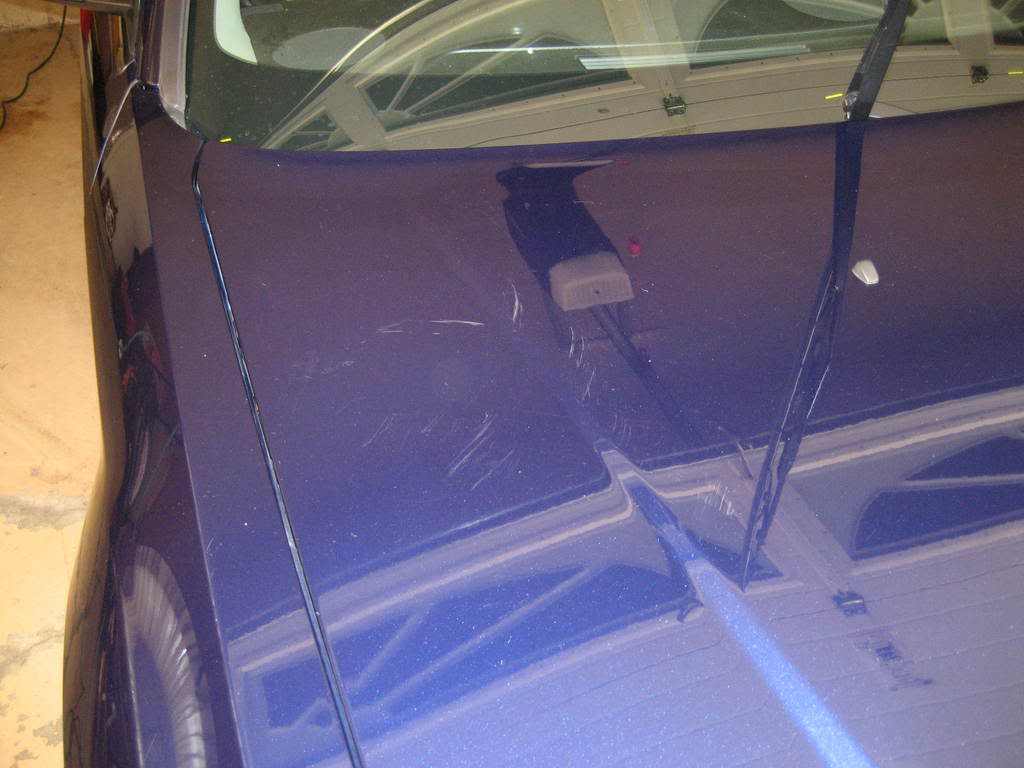
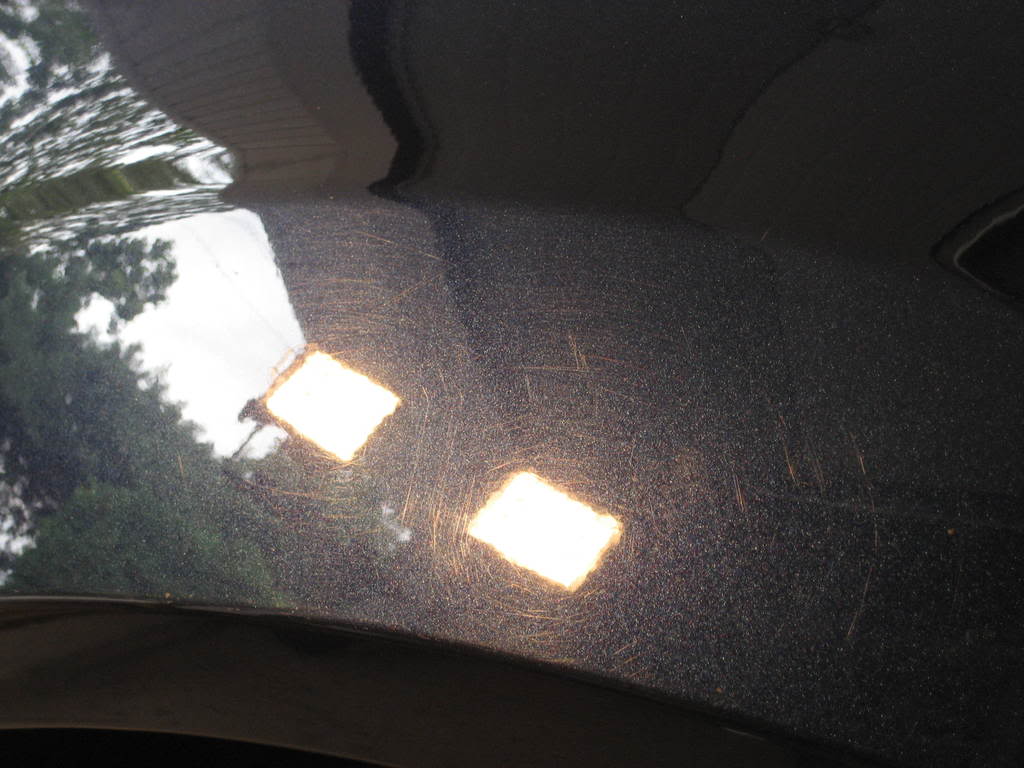
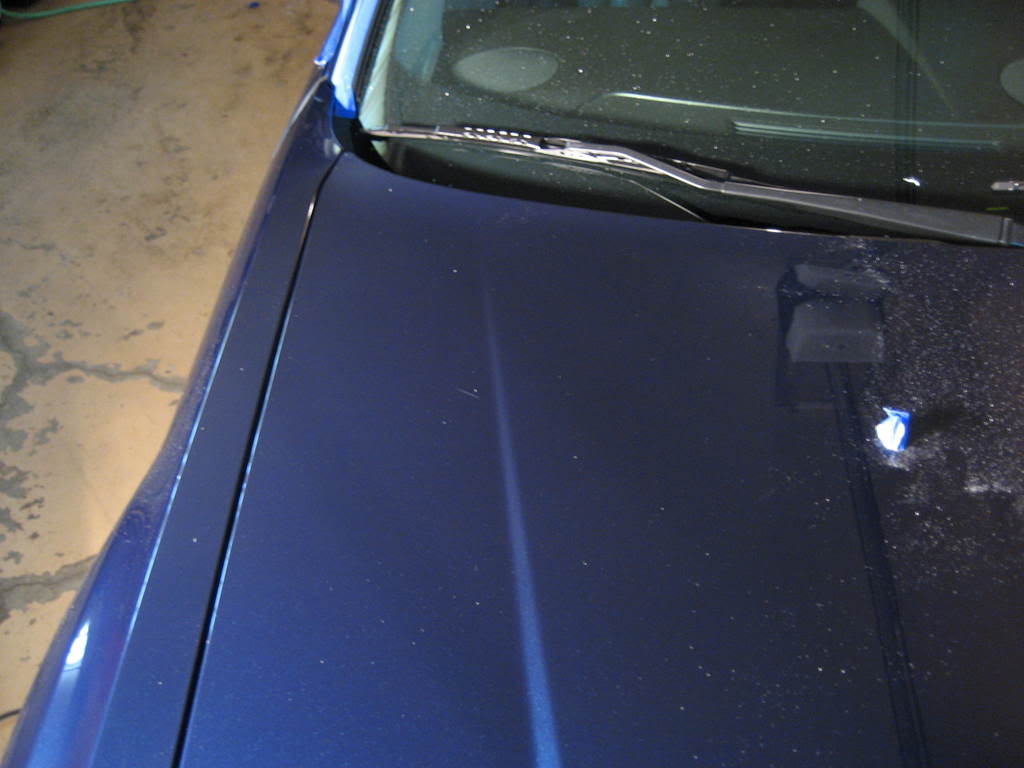
scratched up hood
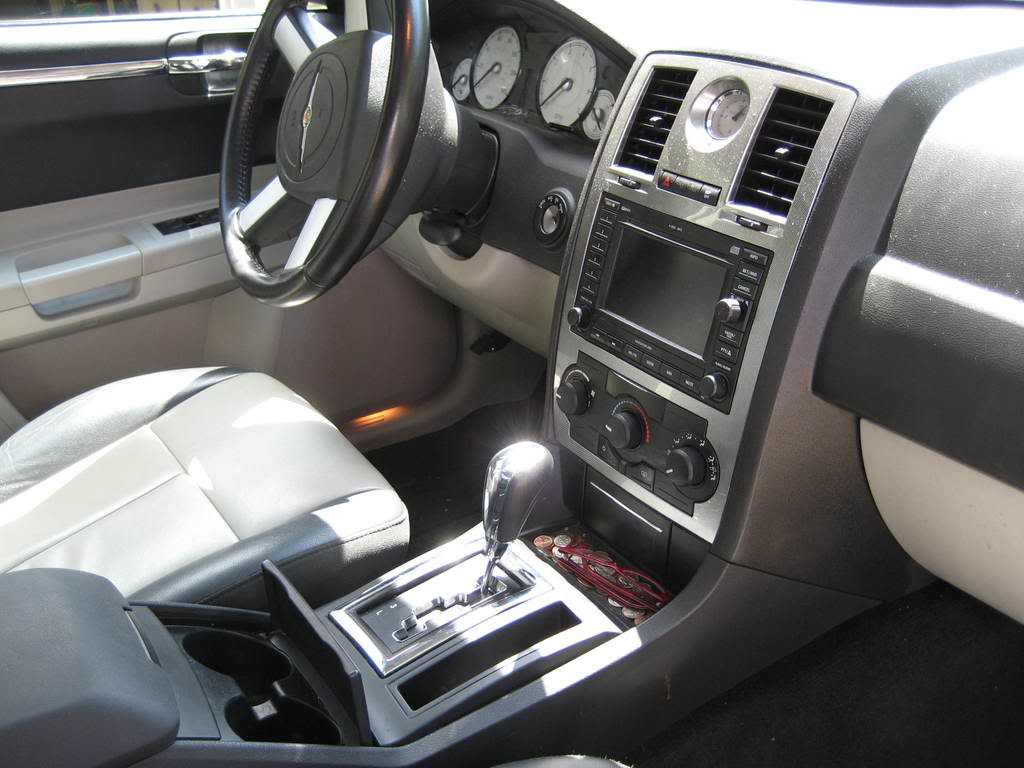
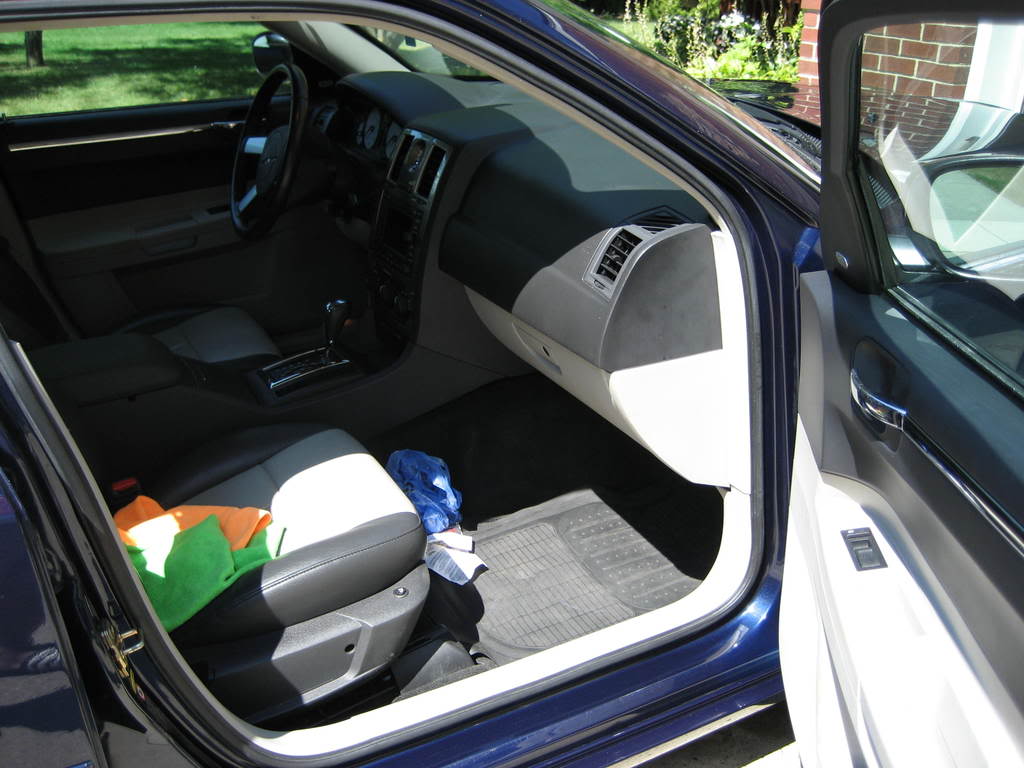
Inside wasn't any better. Caked up cup holders, dirt, etc.
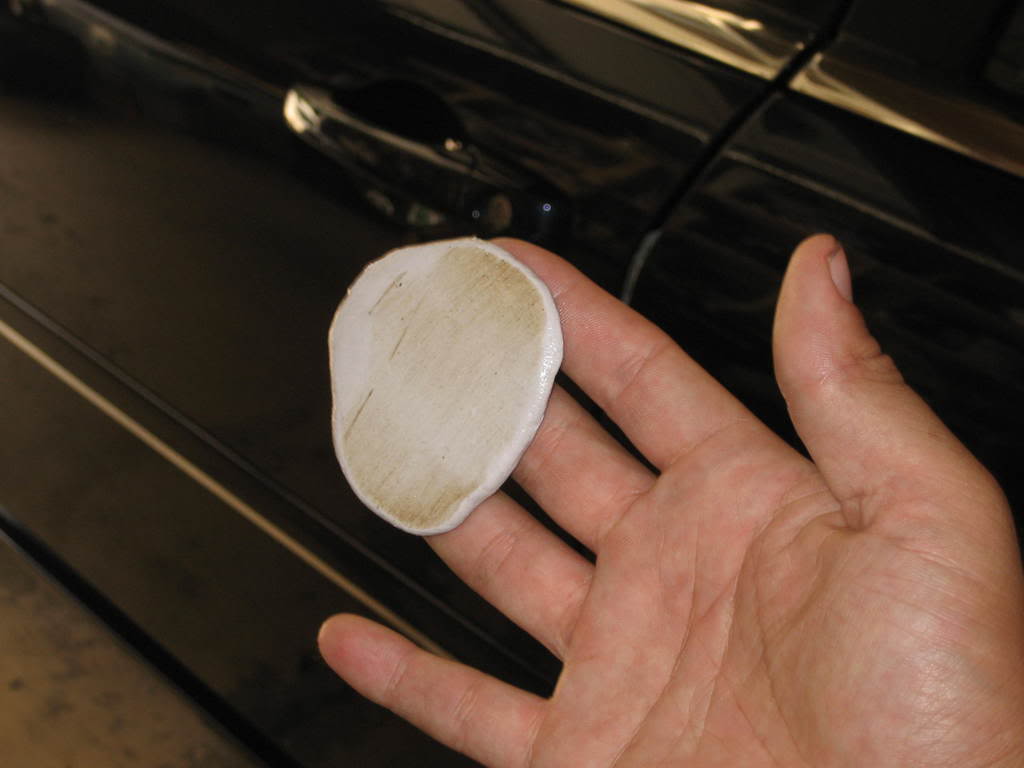
The exterior looked so bad that I didn't want to wait, so I began to clay knowing I could get on the interior if I became overwhelmed. This is what i got from the first square foot of the hood:
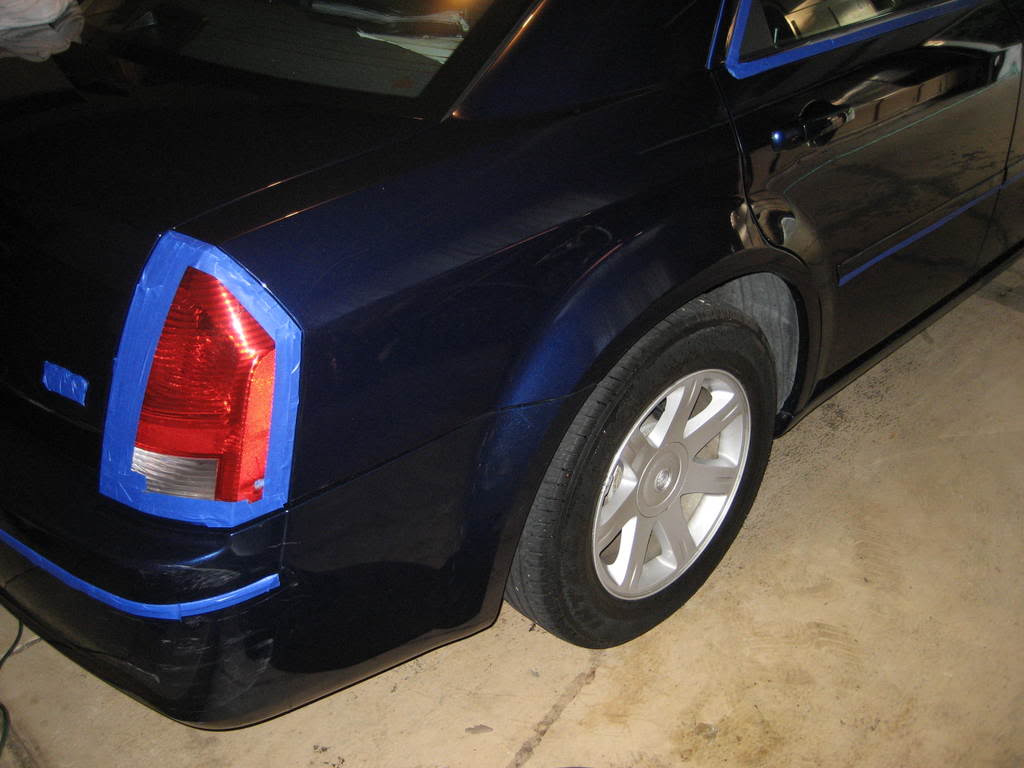
taped up also showing the wheel wells looking a bit....umm... harsh
I orginally started with the Orange CCS Pad using Menzerna SIP, but the results were leaving me worried and tired. I had to step it up to Power Gloss after trying out a section of the paint for better results. Using only a PC 7424 DA buffer made things a little longer. Thank God I have a makita rotary now!
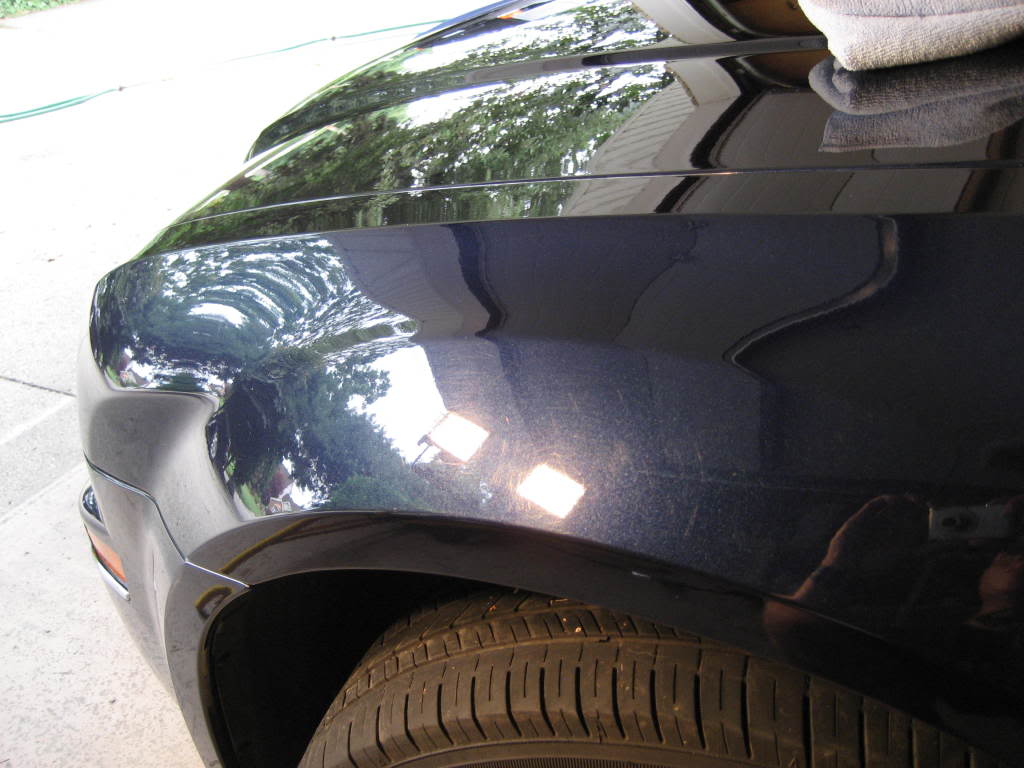
front left fender before:
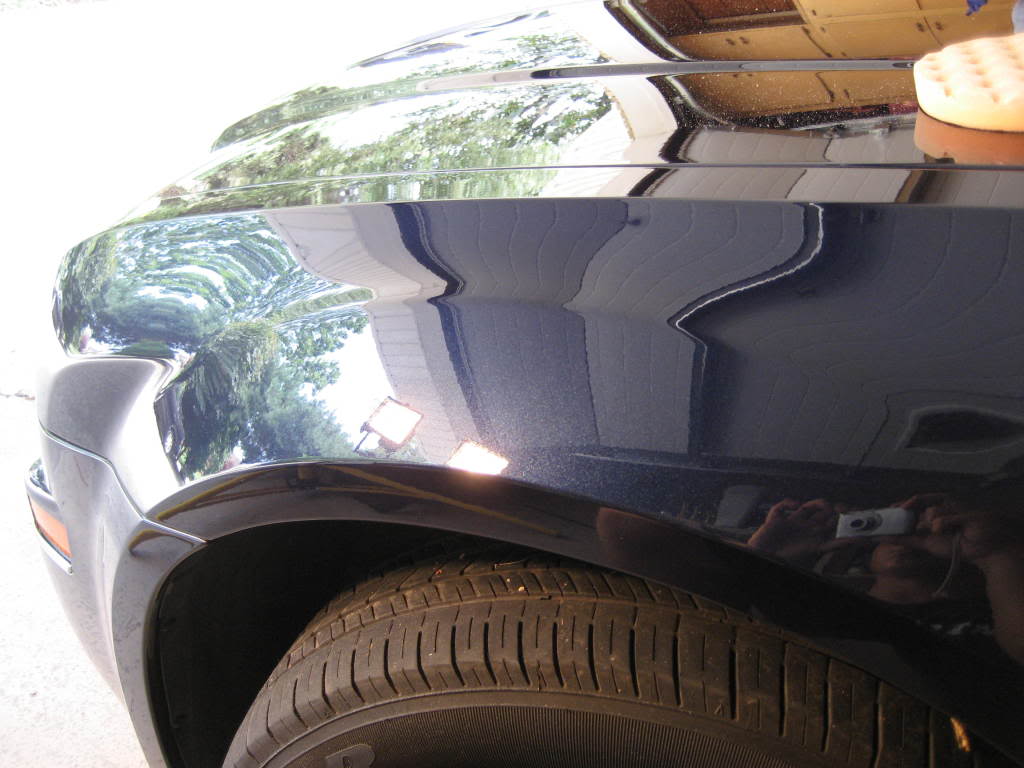
front left fender after:
front left fender before and after from a step back:
remember those big scratches in the hood?
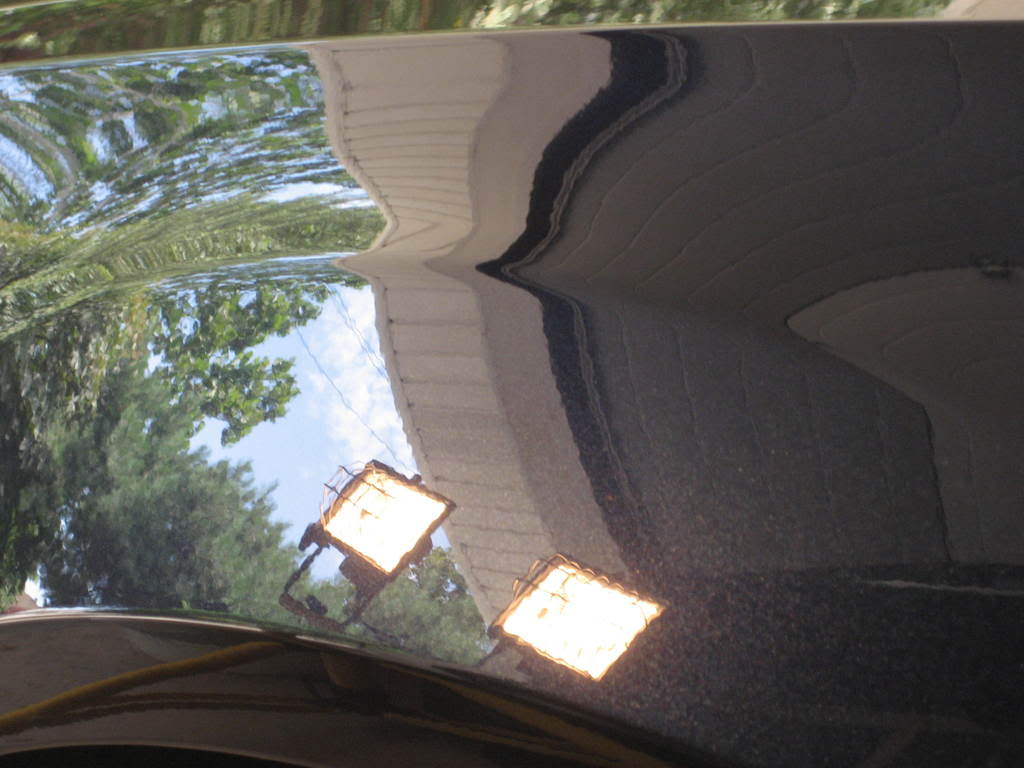
after some work, only a real deep mark was left
the paint as a whole really came around once I really worked it well

driver's door looking much better
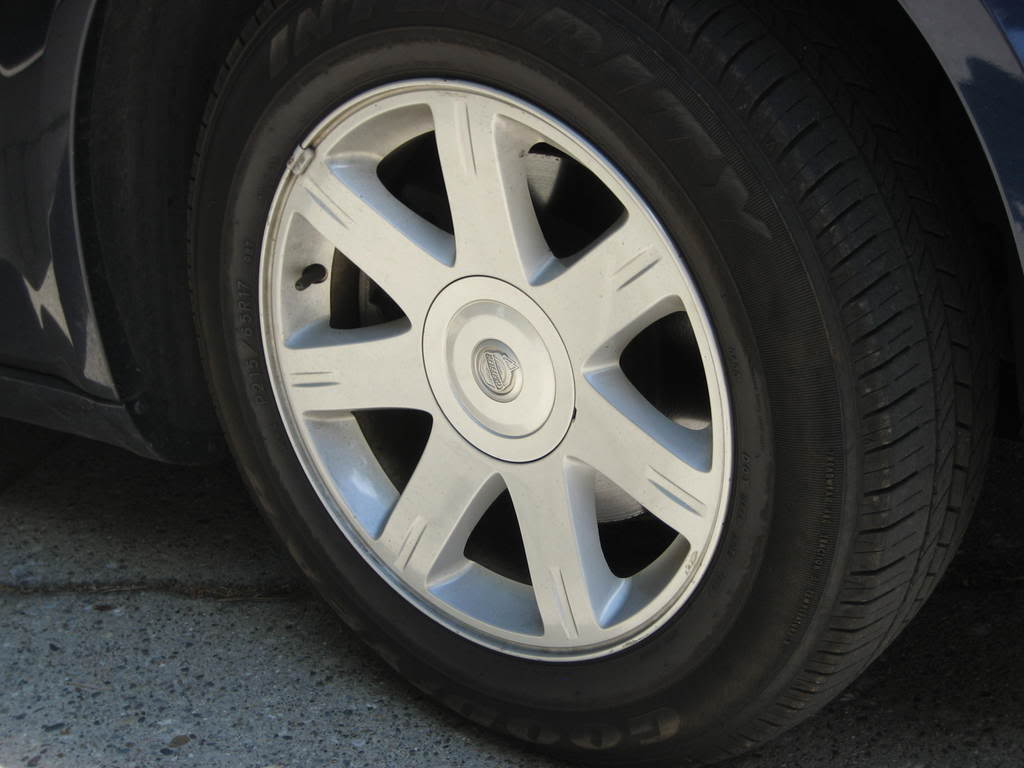
once the wheels and wheel wells were cleaned, the car was looking a lot more new. All that buffing certainly helped as well

Total time spent was 18-20 hours. I was luckily able to take my time as the family went to northern Michigan for vacation, and therefore had 6 days to spread the work around this girl. Because of that, I took my time and used around 4 days total to ensure everything would come out the way I wanted. The last two I could relax knowing the 300 was going to make an owner happy. When everything was said and done, the car was better than off the lot!
Exterior:
Palm Olive to strip off anything that might have been on it
Adam's Clay
CG Luber
Simple Green diluted 1:10
Menzerna Power Gloss
Menzerna PO85RD
CG JetSeal109
Rain-X
Wheels:
One Touch tire cleaner
Black Magic Tire Gel
P21S Wheel Cleaner Gel
Interior:
Einszett Cockpit Premium
Simple Green Diluted 1:10
Lexol Leather Cleaner
Lexol Leather Conditioner
Stoner's Invisible Glass
Tools:
PC 7424
LC CCS Orange Pad
LC CCS White Pad
Grit Guards
Painter's Tape
Foam applicator for Lusso
Uber microfiber applicator for JetSeal
Lots and lots of uber micro's, terry clothes, and cheapo microfibers
160gig iPod connected to cpu speakers to keep me going!
LSP:
Lusso Oro
Now for pics!
unloading from the car ready to get to work!
hmmm... what am I getting myself into...
the trunk lid was really bad. Lot's of build up, old dirt and mud, and was a real pain. This is the only place i used simple green on the exterior.
Onced washed off, I got to see all the scratches and swirls the dirt was covering!
lots of marks on driver side passenger door:
driver's door:
scratched up hood
Inside wasn't any better. Caked up cup holders, dirt, etc.
The exterior looked so bad that I didn't want to wait, so I began to clay knowing I could get on the interior if I became overwhelmed. This is what i got from the first square foot of the hood:
taped up also showing the wheel wells looking a bit....umm... harsh
I orginally started with the Orange CCS Pad using Menzerna SIP, but the results were leaving me worried and tired. I had to step it up to Power Gloss after trying out a section of the paint for better results. Using only a PC 7424 DA buffer made things a little longer. Thank God I have a makita rotary now!
front left fender before:
front left fender after:
front left fender before and after from a step back:
remember those big scratches in the hood?
after some work, only a real deep mark was left
the paint as a whole really came around once I really worked it well
driver's door looking much better
once the wheels and wheel wells were cleaned, the car was looking a lot more new. All that buffing certainly helped as well
Thread Starter
|
Junior Member
Joined: Apr 2009
Posts: 6
From: Michigan
Once I put on the JetSeal109, I waited until the next day to come back to put on Lusso Oro. The JetSeal was amazing. This was my first time using it, and I'm blown away. A little went a long way, and it made putting on the Lusso that much easier I think. It was also very easy to take off with microfiber towels, and gave the car a nice shine.
This was also my first time with Lusso Oro. This stuff blew me away too. Of course it smells great, and like the Jetseal, it went on extremely easy, a little went a long way, and it really set off the color of this car, which when clean, is great. This was my first time dealing with a higher end carnauba, and the difference shows me that maybe the synthetics are good, but don't sleep on mother nature! The depth and wet-look really came through in the end.
going on in the shade:
and finally:
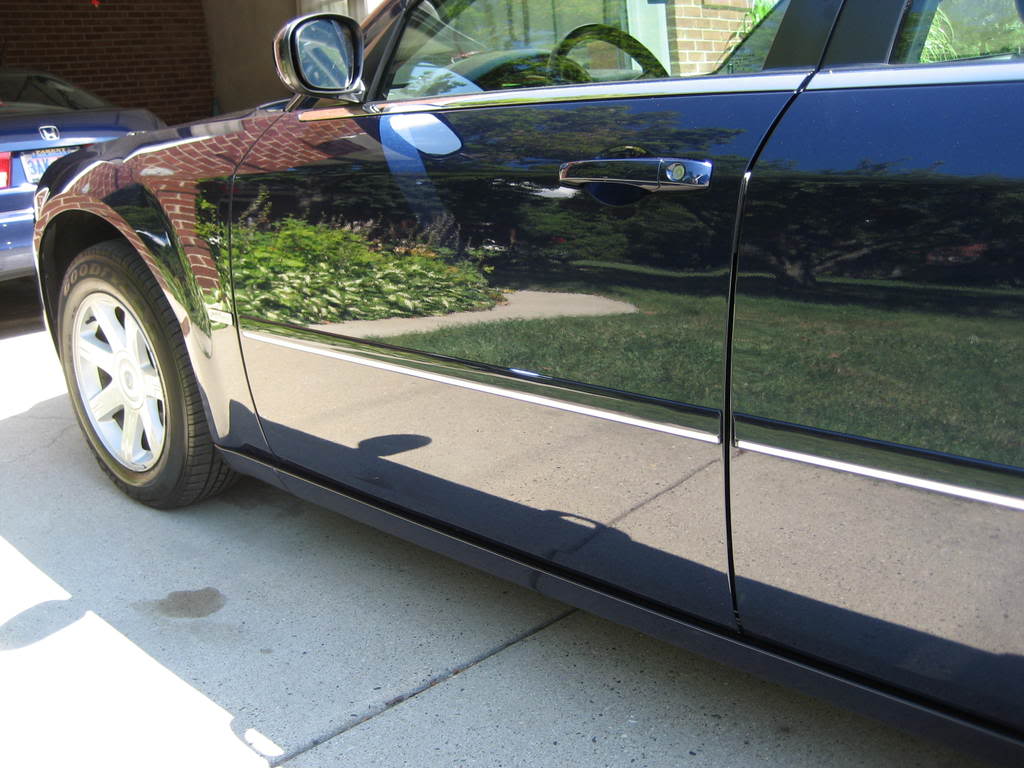
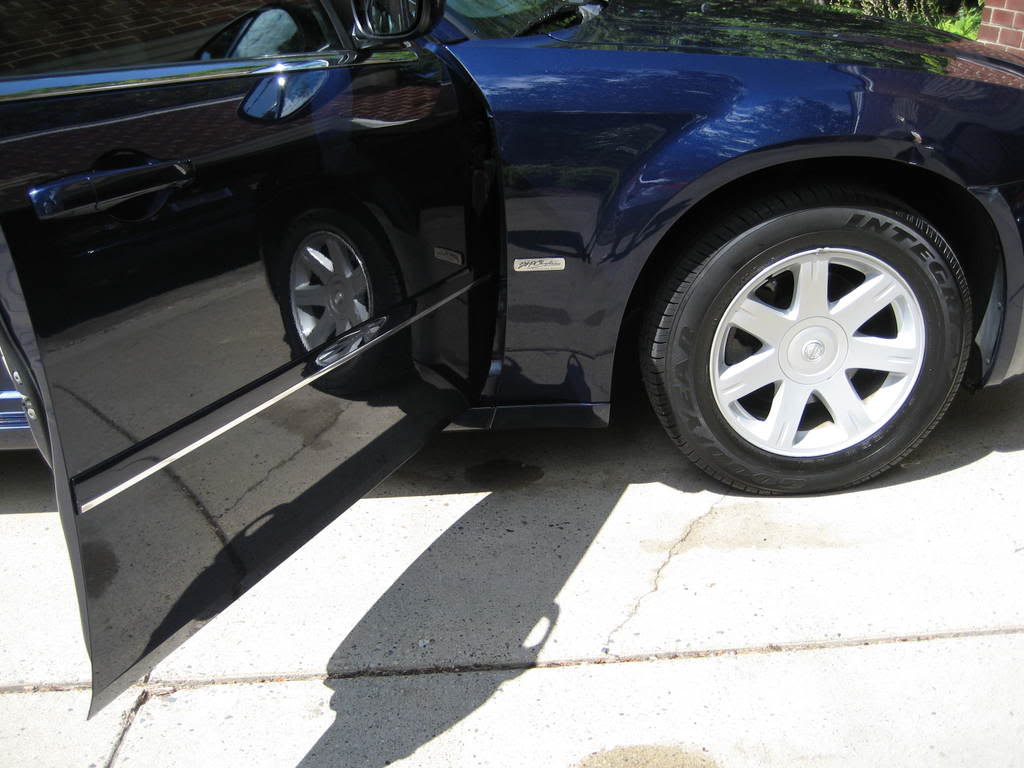
that driver's side passenger door has a second chance at life!

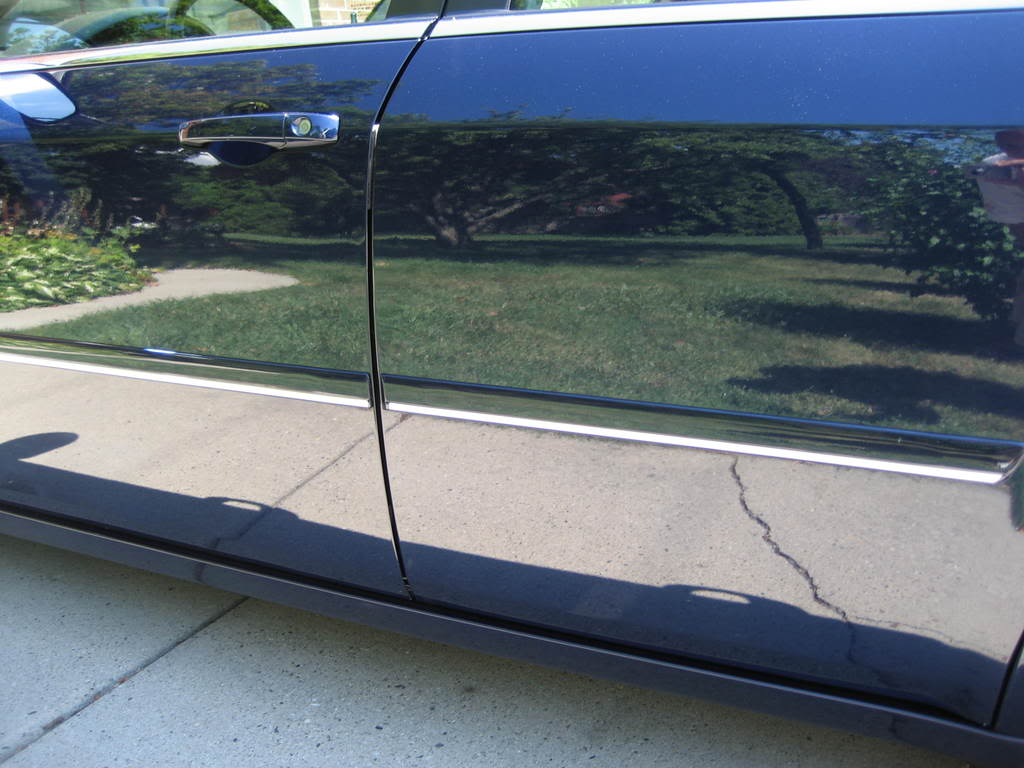

To say the least, the owner was THRILLED. The car since he got it had never looked so good. No swirls, and all those big scratches and random marks came out. And scratches that were too deep to be removed were rounded by proper buffing which makes them not catch the light / blend in.
any comments or questions are certainly welcomed!
This was also my first time with Lusso Oro. This stuff blew me away too. Of course it smells great, and like the Jetseal, it went on extremely easy, a little went a long way, and it really set off the color of this car, which when clean, is great. This was my first time dealing with a higher end carnauba, and the difference shows me that maybe the synthetics are good, but don't sleep on mother nature! The depth and wet-look really came through in the end.
going on in the shade:
and finally:
that driver's side passenger door has a second chance at life!
To say the least, the owner was THRILLED. The car since he got it had never looked so good. No swirls, and all those big scratches and random marks came out. And scratches that were too deep to be removed were rounded by proper buffing which makes them not catch the light / blend in.
any comments or questions are certainly welcomed!
Last edited by Muttgrunt; Apr 19, 2009 at 06:57 PM.

Thread Starter
|
Junior Member
Joined: Apr 2009
Posts: 6
From: Michigan
Don't worry, he has. he was extremely pleased at how nice the vehicle turned out (better than new!), and has since been pretty careful about it. Additionally, he's kept up with having me wax it when needed, and since its been clayed - it's still extremely slick!

 ................No didnt think so


Member
Joined: Feb 2010
Posts: 45
From: Virginia
I love detailing our cars!! It is so nice pulling up to the same year make and model and seeing the difference... The 3 hours on a Saturday once a month will do your finish wonders!! My wife hates it therefore I love it. Time well spent.
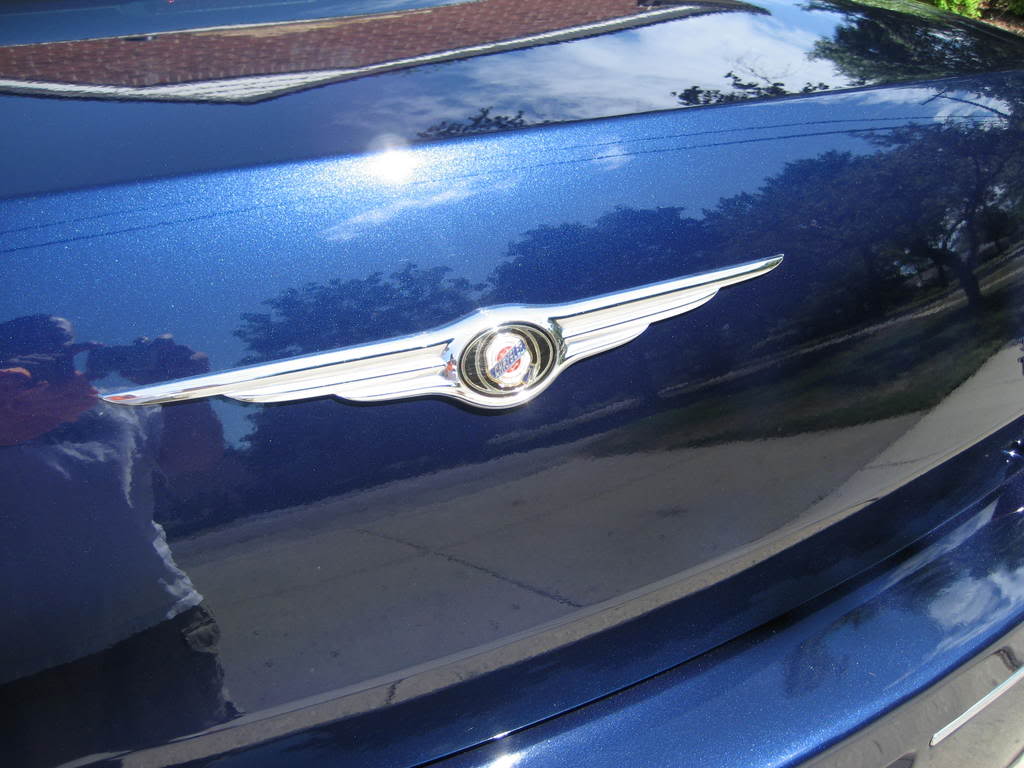
Mutt, you did a fantastic job on that car! The Midnight blues are the sexiest colors out there and really show well when done right. Great job!
Mutt, you did a fantastic job on that car! The Midnight blues are the sexiest colors out there and really show well when done right. Great job!
Thread Starter
|
Junior Member
Joined: Apr 2009
Posts: 6
From: Michigan
Thanks for the compliments guys. This was one of my earliest full details I completed. Since then, I've worked on A LOT more vehicles, but I'm still fond of the turn-around I was able to get from this 300.
It's possible to get similar results yourself on your own ride with a little research and dedication. Places like autopia.org hold a ton of information.
If you're interested in seeing how things have turned out for me since working on this car back in '08, just google "autolavish"
It's possible to get similar results yourself on your own ride with a little research and dedication. Places like autopia.org hold a ton of information.
If you're interested in seeing how things have turned out for me since working on this car back in '08, just google "autolavish"