When you click on links to various merchants on this site and make a purchase, this can result in this site earning a commission. Affiliate programs and affiliations include, but are not limited to, the eBay Partner Network.
Ok, the job is complete. I wanted to just offer a brief explanation below and I took some photos while I was in there for anyone else that may want to attempt this in the future. I received help and I want to give back. These cars really aren't worth much anymore so if we can have good DIY instructions we can save $ and keep these things on the road. This is a very low level job as far as skills I am not an expert or mechanic by any means and I had no problem completing this job.
My top was going slow and sometimes getting stuck on the way back up. I suspected low fluid in the pump which means there may have also been a leak so inspection was needed.
I worked in the garage with the top down so that I had plenty of light to see. Remove the rear seat bottom by prying up the two pressure clips on front of the seat bottom. Bottom will pull right about. This took less than 30 seconds.
Seat back pops out after you remove the two bolts at the base of the seat that you can see holding in the seat back. There are 4 bolts there same size but you only have to remove the two that are clearly holding in the seat back. Once you remove those two bolts you push up on the seat from the bottom and the back will pop off. The top of the back rest is is held in by pressure clips that the seat slides down into so pushing up from the bottom will release these.
Once you have the seat bottom and seat back out, it will expose the rubberized fabric that is covering the top pump. This is tucked into the back with 4-5 black Christmas tree pins. pull up to release and fold down exposing the pump.
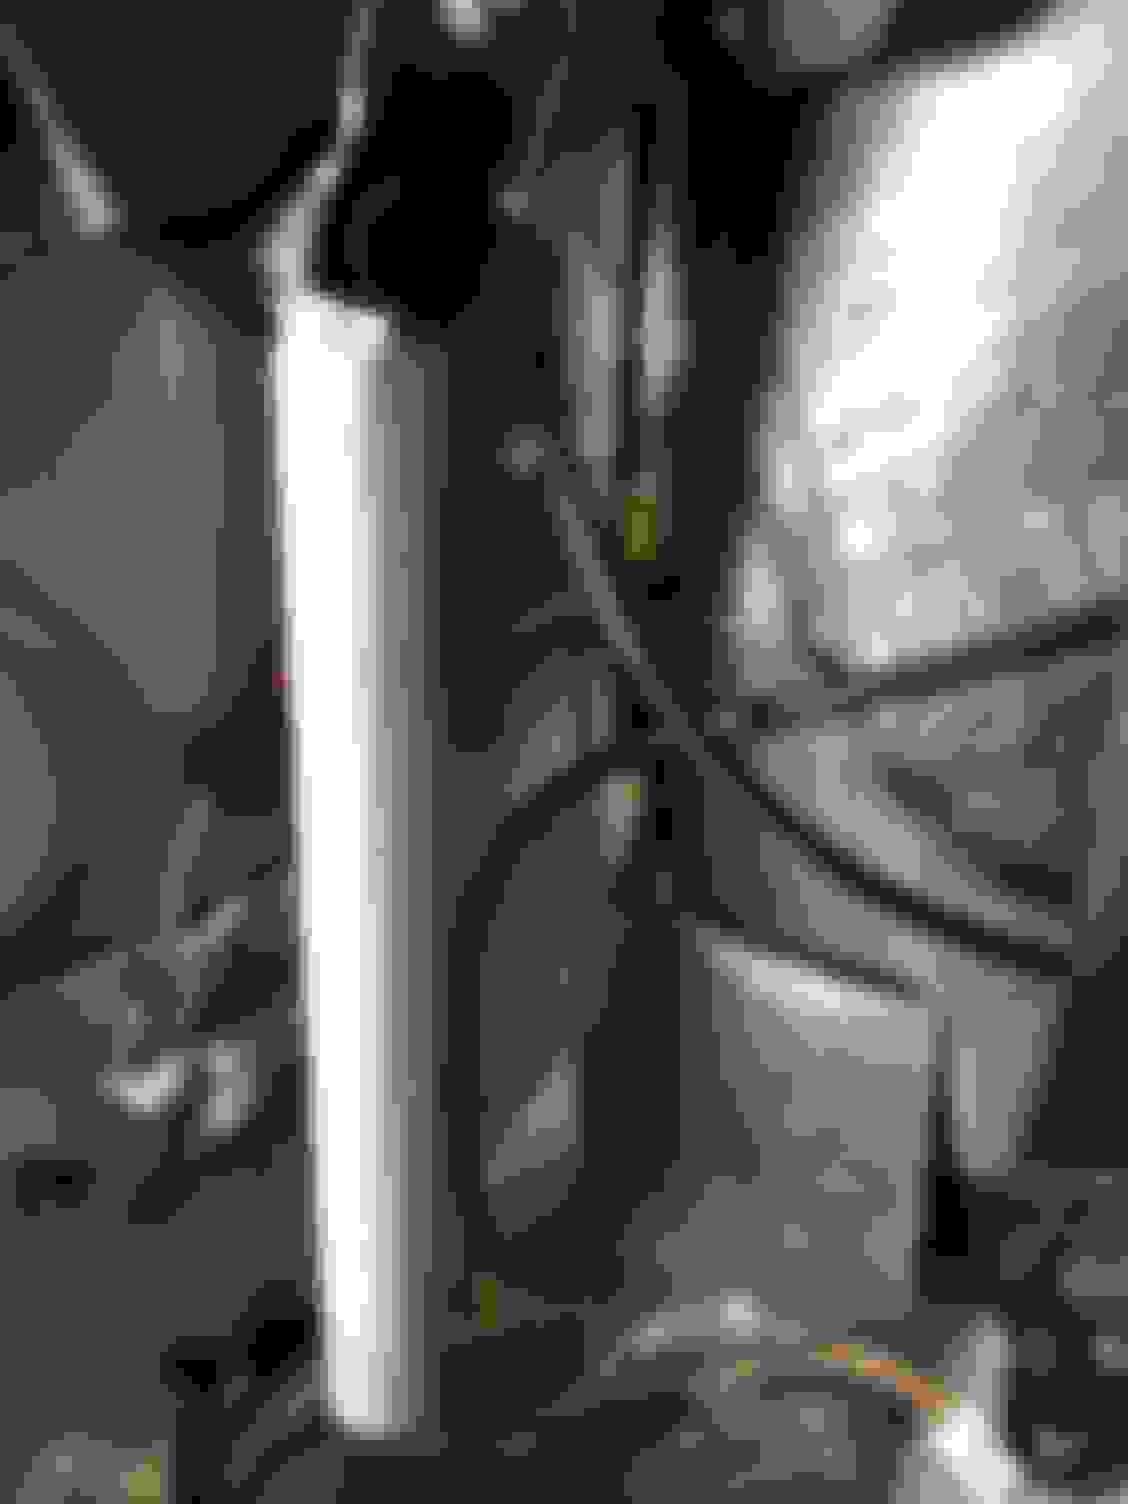
If you suspect hydraulic lines are leaking then you will need to remove the rear door panels on each side to see the 2 connection points to the cylinder on each side. Another simple job.
To remove rear door panels pry off speaker cover with flathead carefully. Once inside you will see two Philips screws with a black washer around them. Remove both. It is not necessary to unbolt the 4 speaker bolts the speaker can remain in the door panel. Next remove the two screws that hold on the piece of Velcro at the top of the door panel that is for the convertible boot. Place your hand under each screw as one of them has a nut that the screw goes into. Once you have these two screws removed carefully pull on the door panel to release it. Unclip the wire that goes to the speaker and the hydraulic line connection points on each side will be exposed.
All 4 of my connection points were somewhat loose causing a slow leak of oil. I dried off the connections and tightened them with a wrench.
Pry off the hydraulic pump it is heard in by 4 rubber pins. You will then see on the left side bottom there is the plug that needs to be removed. I removed it carefully and filled up the pump with ATF. I had read about filling it before and it said to fill it all the way up and cycle the top a few times to remove air. I did this but make sure you have plenty of towels as after about 2 times it started to let out ATF from the whole indicating I had over filled it.
The hardest part of this entire project for me was getting that darn plug back in the bottom. I don't know if there is a special tool for this or not but I don't have one. I had to slowly go around each side with a screwdriver stuffing it in the hole until it went all the way in. Took me a while especially when its greasy from the ATF getting all over the place. The pump took way more ATF fluid than I thought it would. Probably at least half the quart so it must have been pretty low.
I cycled the pump 5 more times to make sure that it was pressurized and then checked all 4 of the connection points to see if they were leaking. I did not feel any leaks so for now we are safe. Reassemble everything in reverse and clean up.
I hope this will help someone else out. I am happy to answer any questions to the best of my ability. My top is back to operating at 100% again, couldn't be happier. BIG THANKS TO DCOTTER!
The 'trick' to inserting the plug is to insert a 'non-pointy' tool into the hole of the plug and push it in. The tool will push on the end and stretch the plug and it will slide right in. I used a torx driver which was flat enough not to puncture the plug. A phillips screw driver is too pointy.
The same procedure is used to re-mount the motor to the panel.
my convertible top operates slower than I think it should. I would like to check and top off the fluid behind rear seat before I dive in any further. I have been reading that you use Automatic Transmission Fluid?? Is this correct? My car is a 2004 Sebring Limited. Thank you
ive had to do this a couple times and it gets easier each time. The two hardest parts are getting the seats out and the plug back in. I use a straw and dip it in the ATF holding the end of the straw and then releasing it into the pump. Ya it�s a bit time consuming but I haven�t been able to find a funnel small enough to fit the hole. It works and to goes back to working like it should. Weird thing is I really don�t have fluid anywhere like it�s leaking??? And be sure to have towels handy.
Cylinder problem: I replaced hydraulic lines and both cylinders and did the bleeding procedure. One works good and the other cylinder comes up once in a while when I test them. Any ideas? I used about one quarter of oil. Rthanks.